
Assembly Instructions
Thank you for purchasing the TrueGroove Trainer.
I have done my best to make assembly as simple as possible. If you run into any difficulty at all, please call me directly at 251-709-4332.
Thanks,
Jim McAleer, Founder
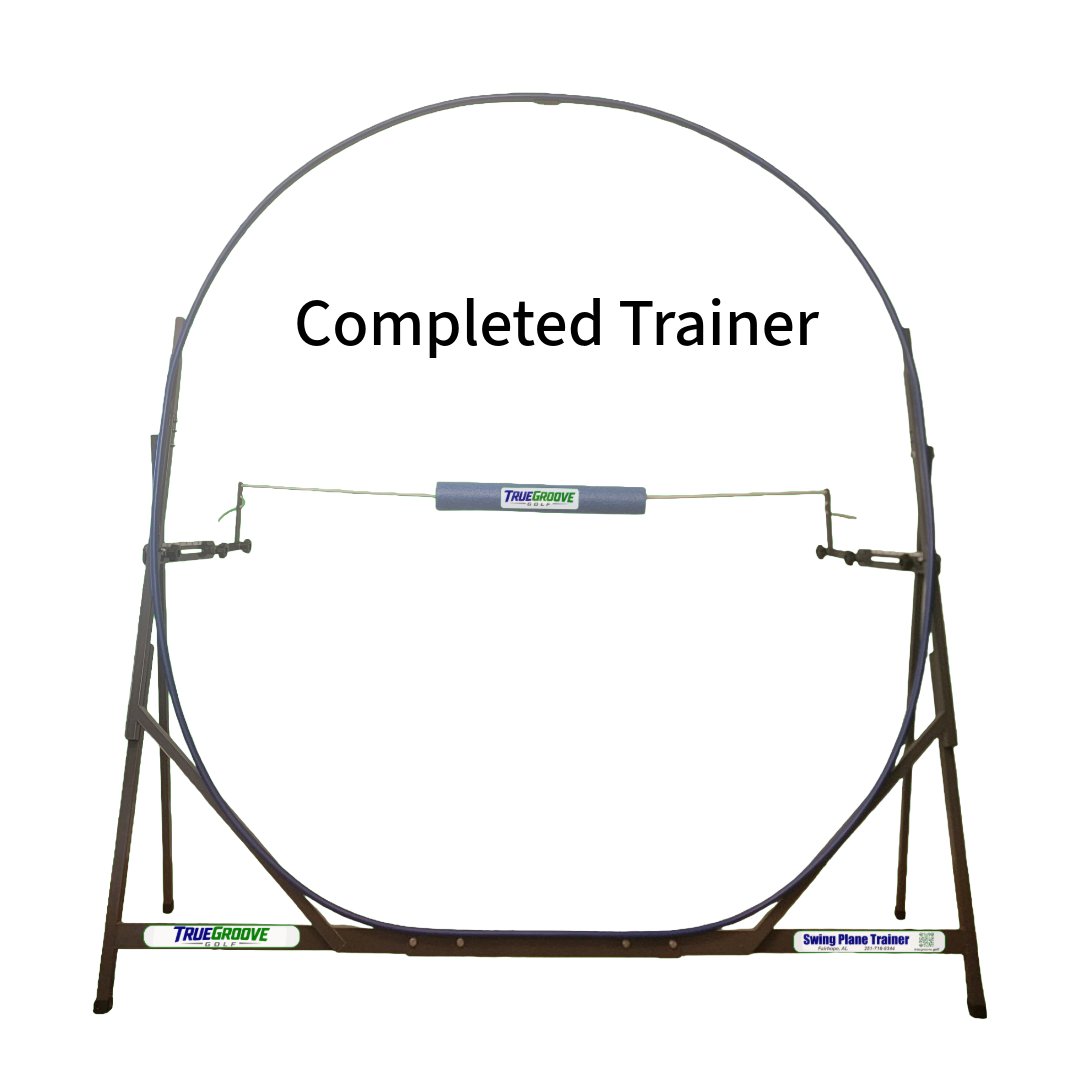
Before You Start
Lay the carton flat on the floor, logo side down. Using a razor knife, or any sharp blade, cut it open along the taped seams, so you do not nick the components inside. There is no need to cut the cardboard, only the tape.
The trainer arrives pre-assembled. Every fastener is already threaded into the exact position where it belongs.
All fasteners are 1/4” and 5/16” standard stainless steel, fine thread. Each is reversible, so the lock nut or the bolt head can sit on either the inside or the outside of any connection. Put them wherever is easiest
Included:
- Two double-ended wrenches
- One roll of blue electrical tape
Throughout these instructions, left and right are determined as if you are standing inside the Trainer, facing out. Keep that orientation in mind during assembly.
Prepare to build the frame.
Lay your components on the floor in roughly the positions they will occupy. The main aluminum Top Rails and the labeled sides of the two Main Uprights should be placed face down.
Prepare the Poly-Glide Rail.
Lay the blue Poly-Glide rail out straight before beginning assembly. This will help make installation easier.
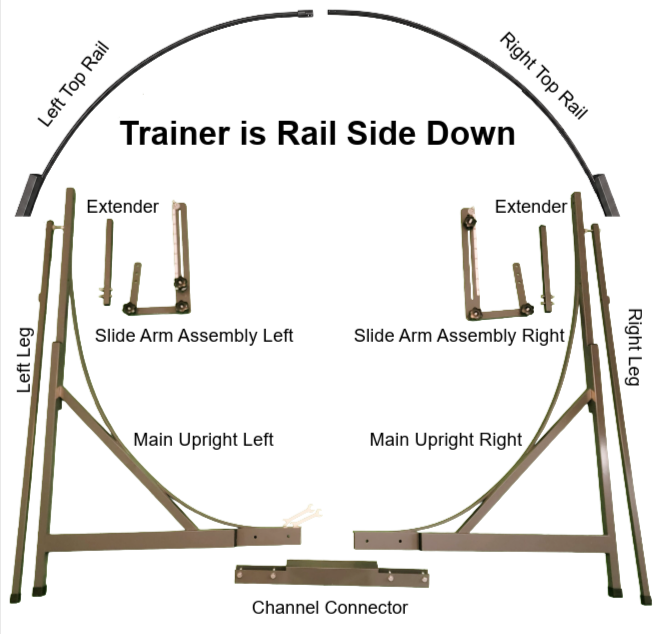
Step 1. Remove the four 5/16” bolts and nuts from the Channel Connector. Lay the channel face down, so the labels face the floor.
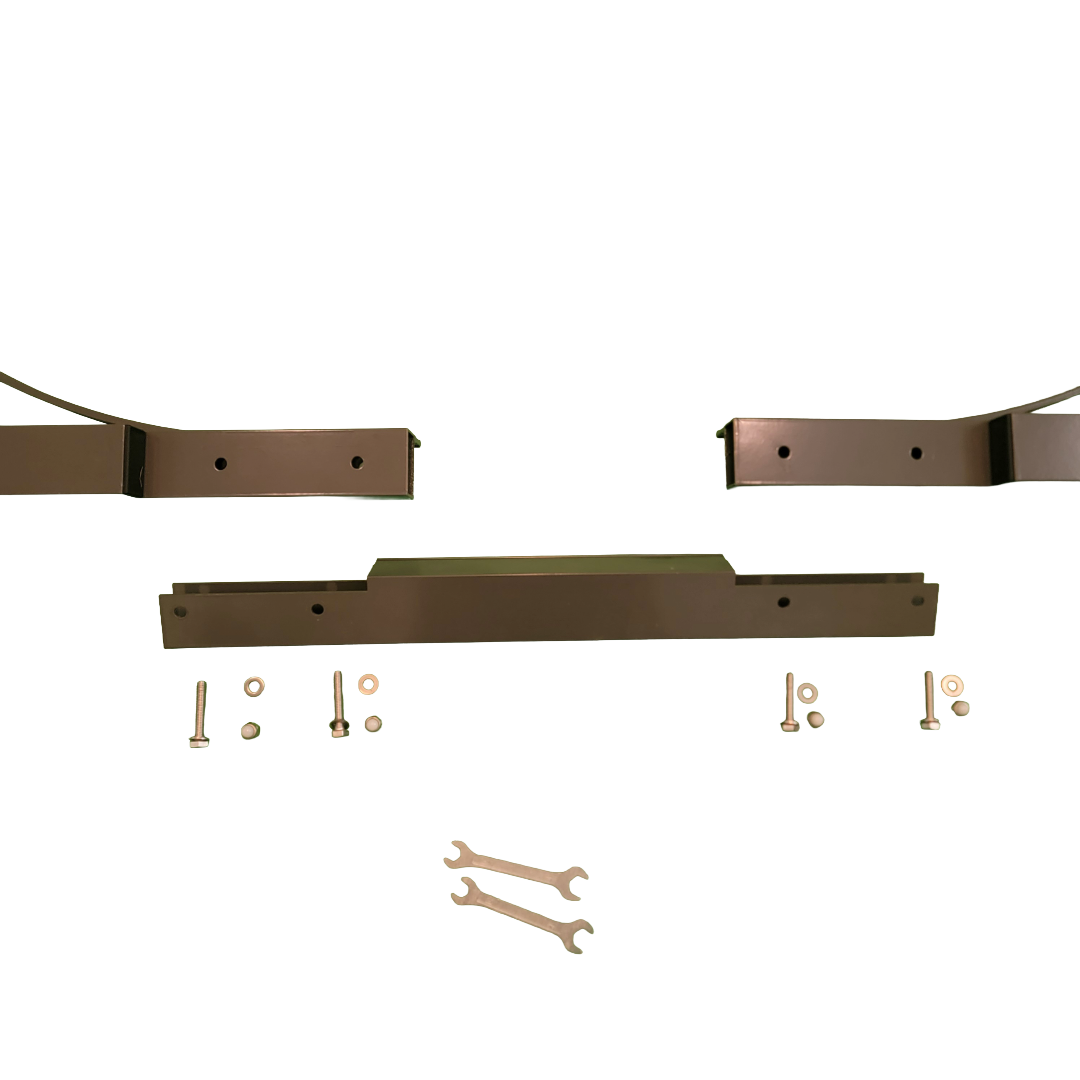
Step 2. Fasten the Channel Connector to the Left and Right Main Upright assemblies using the four 5/16” bolts, nuts, and washers. Finger tighten.
Step 3. Use the provided wrenches to fasten snugly.
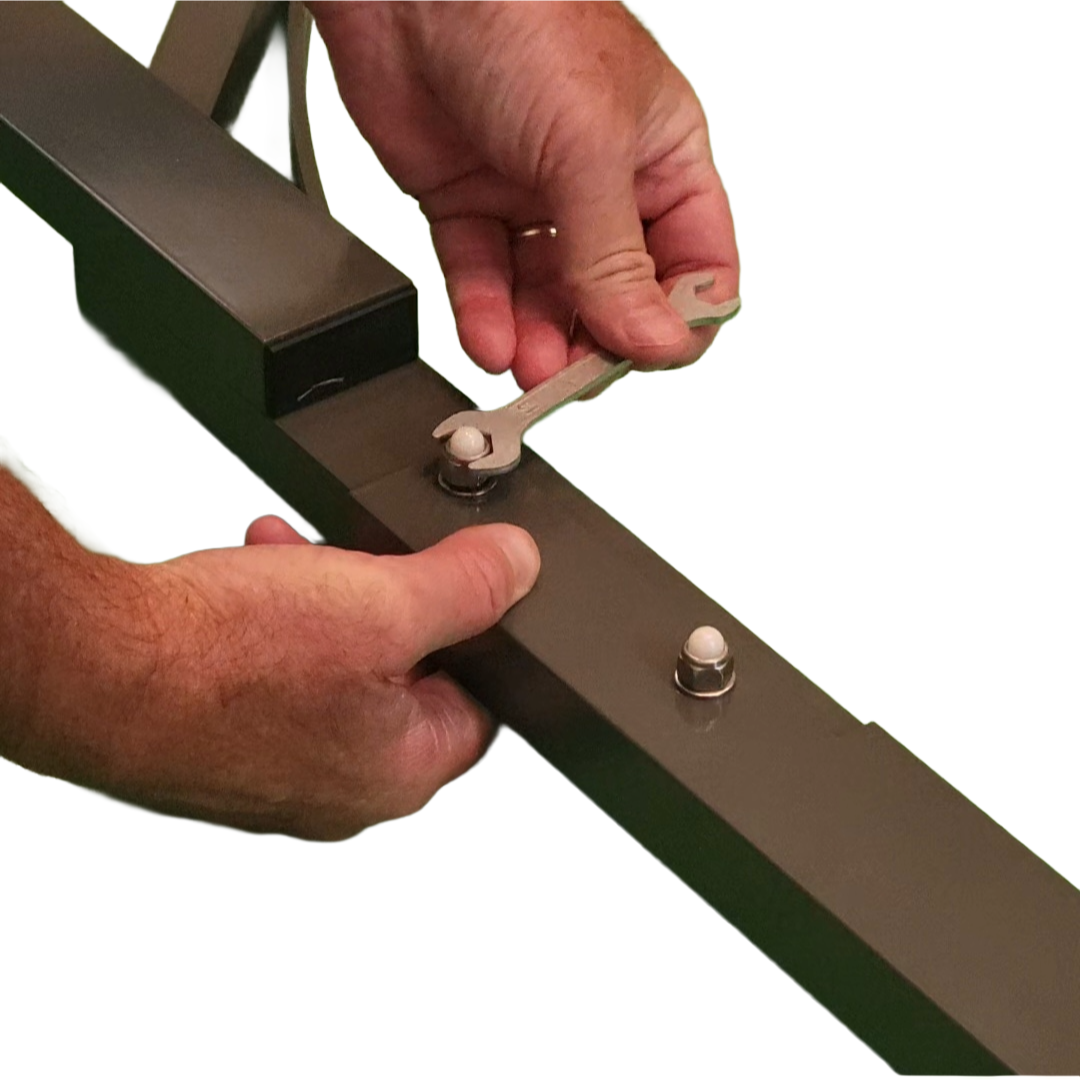
Step 4. Insert Extenders into the top of each Main Upright.
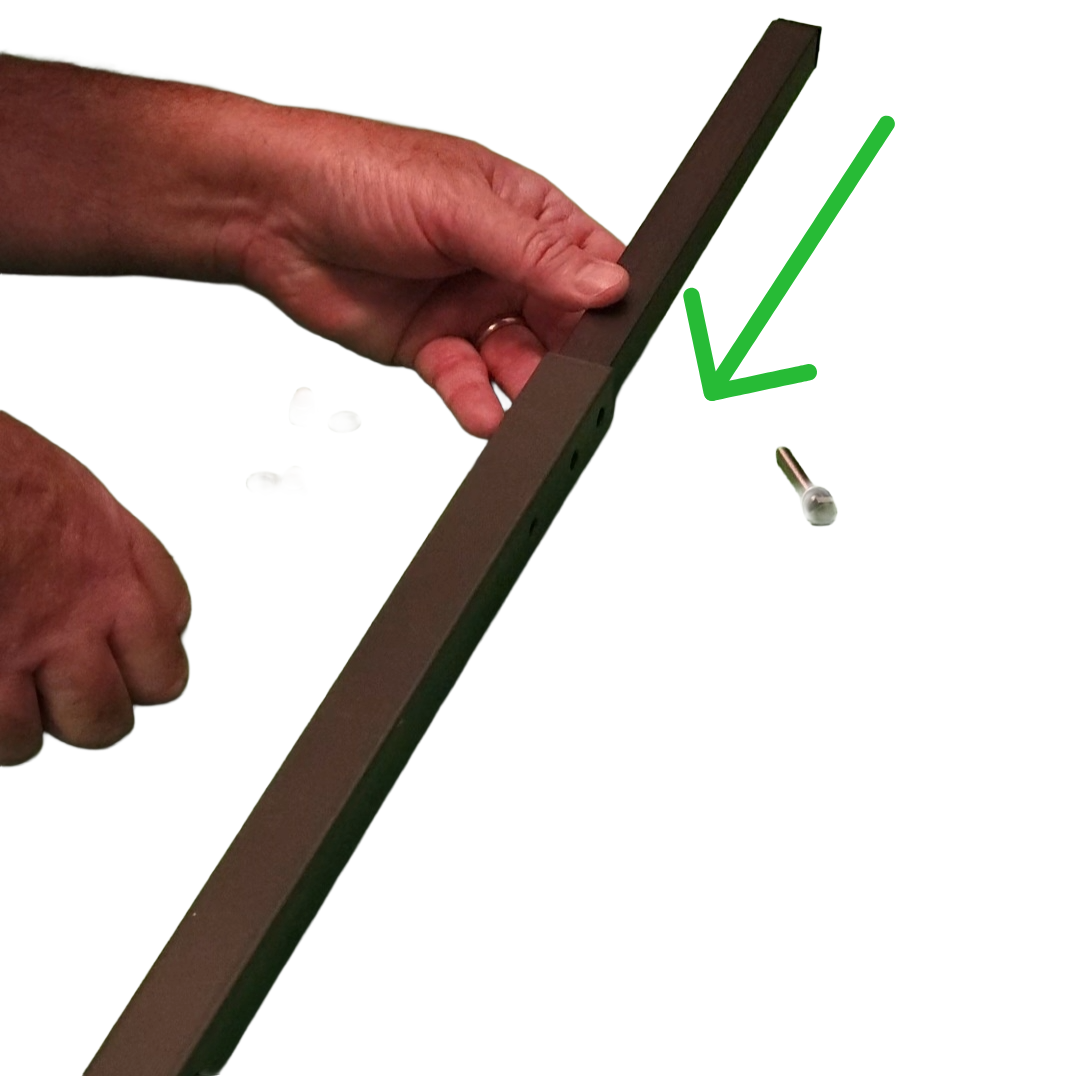
Step 5. Snug the 1/4” bolts using the wrenches.
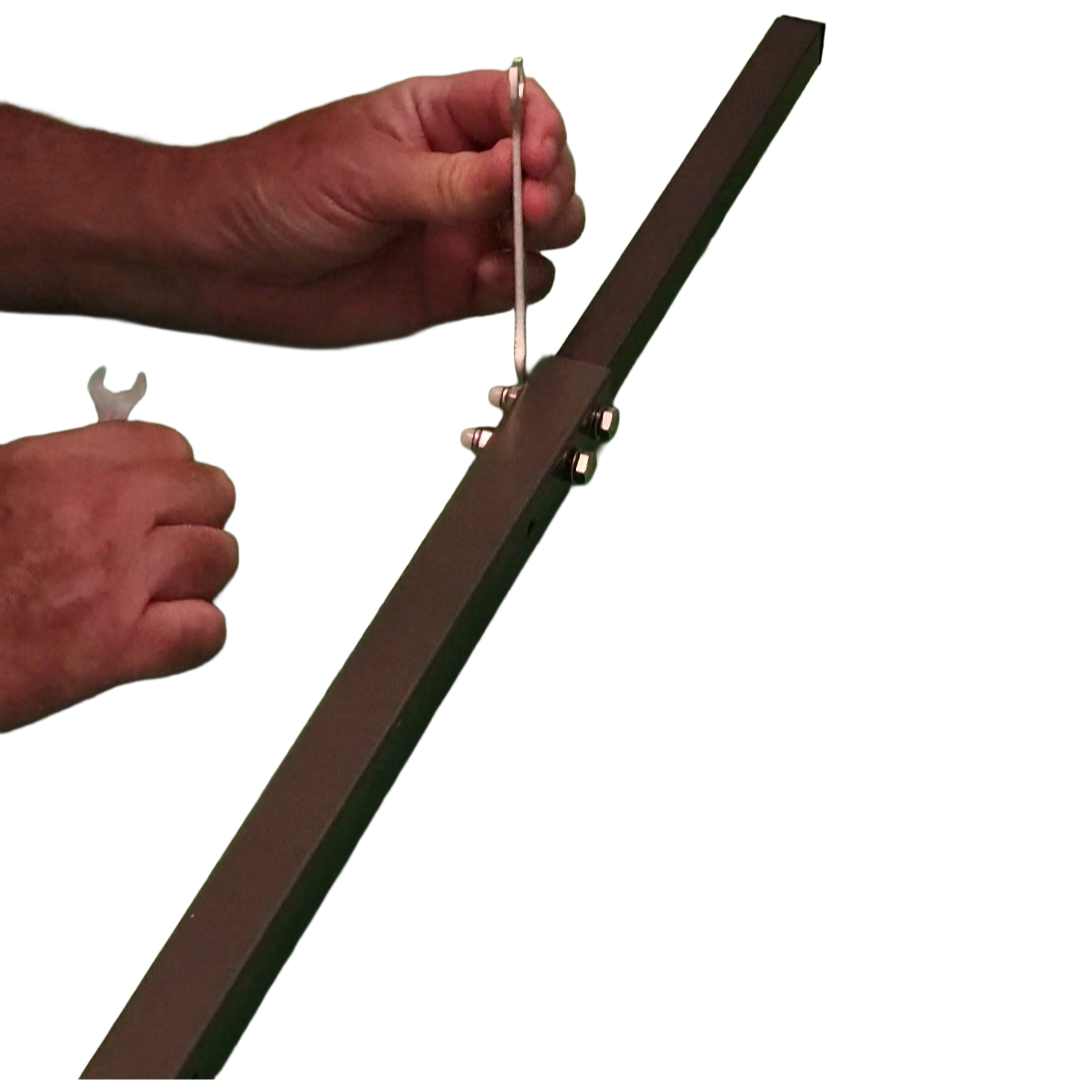
Step 6. Join the two halves of the Top Rail Connector using the two bolts.
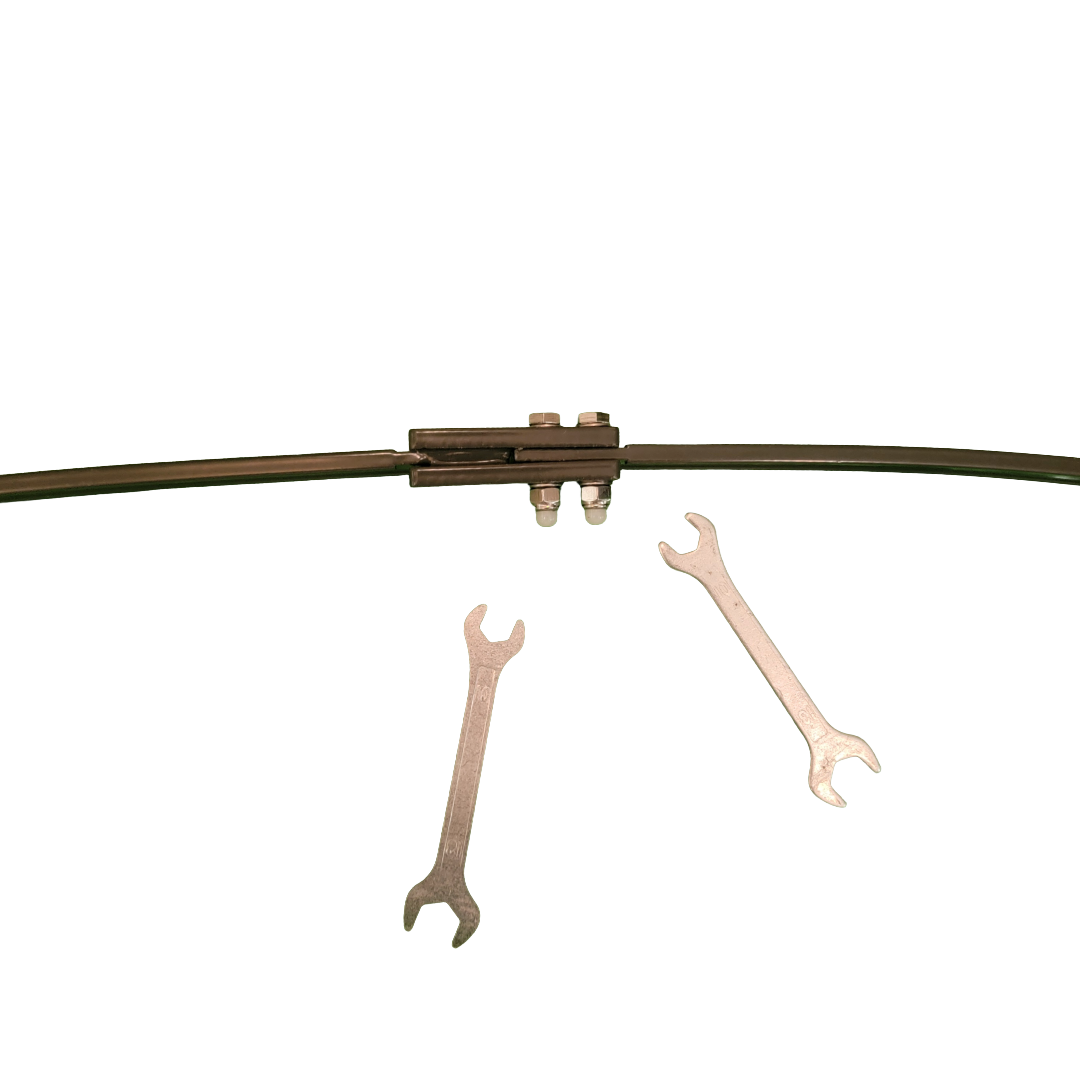
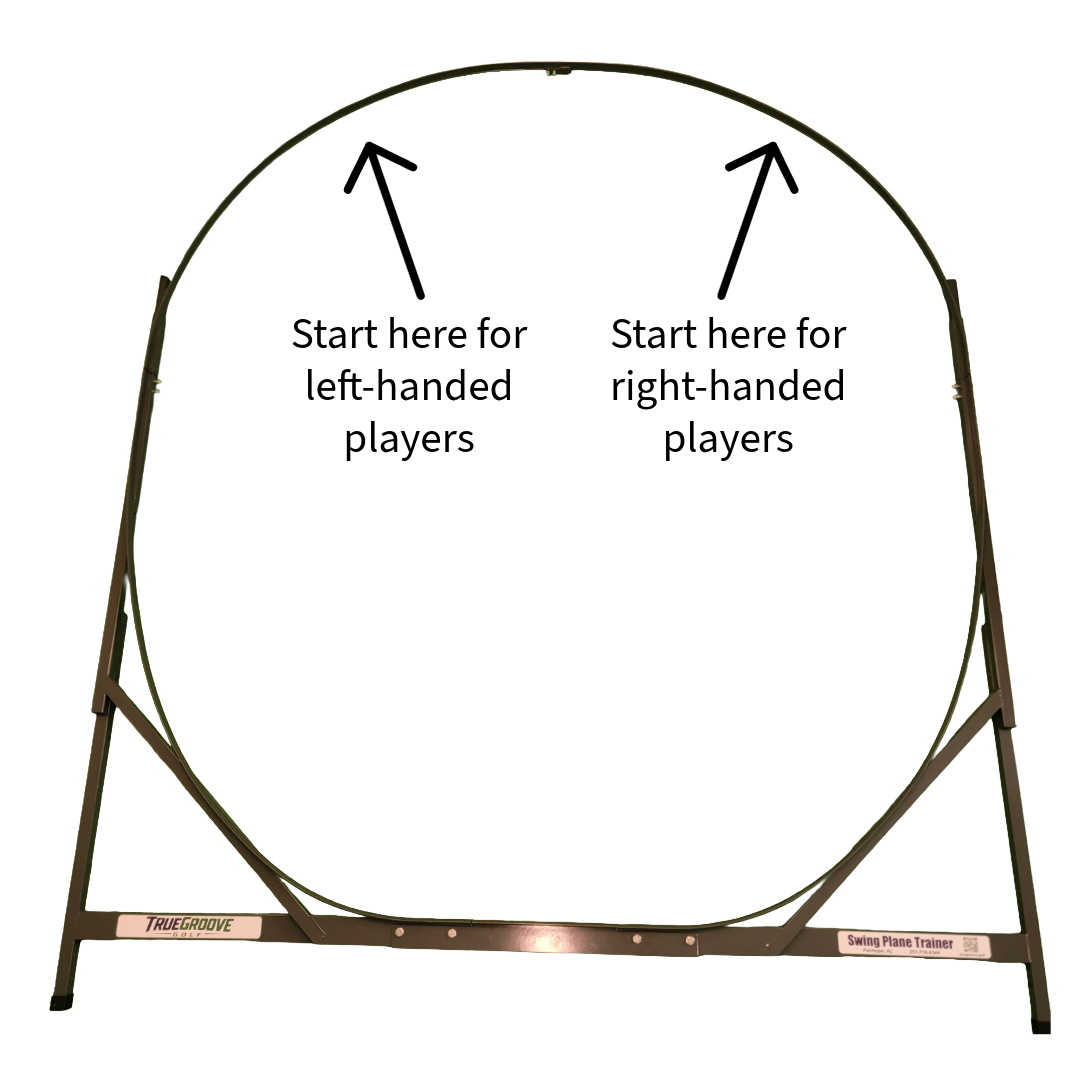
Step 7. Add the Top Rail sections. Slide each Top Rail section down onto its Extender, left rail on the left, right rail on the right. You are now ready to add the Poly-Glide Rail. Turn the trainer face up and begin at the position indicated in the photo above right.
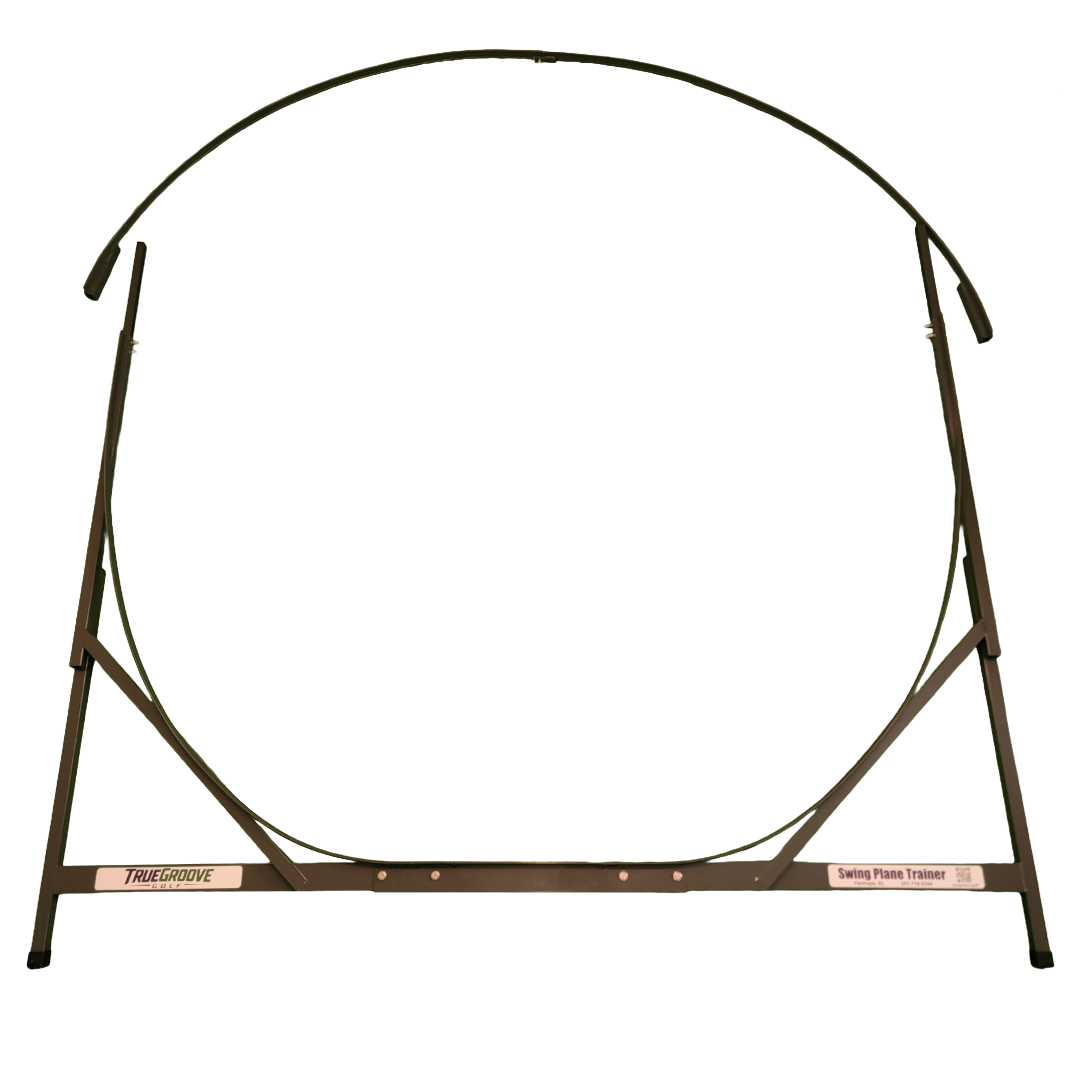
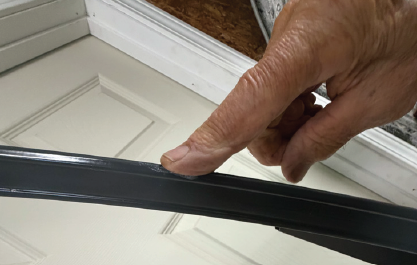
Step 8. Using your finger, or the included paper towel, apply the included lubricant to the top edge of the Aluminum Rail where the Poly-Glide Rail will be installed. The lubricant is safe to use and will not affect the powder-coated surface.
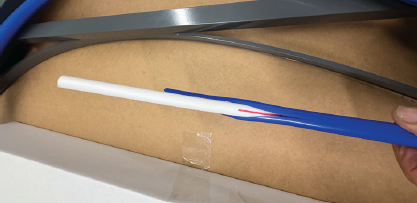
Step 9.Use the included beveled tubing to pre-stretch the Poly-Glide Rail opening. Align the red line on the tubing with the opening. Working in 1–2 foot sections, move the tubing back and forth 2–3 times, then advance. Repeat along the entire Poly-Glide Rail.
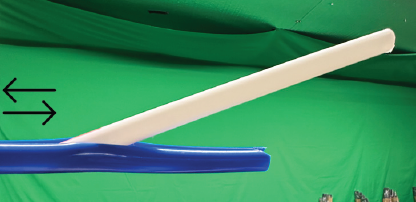
Step 10. Apply in either direction. Clockwise is shown. Push the tubing down and flex it to open the groove cut into the tubing. It is absolutely essential that the groove stays aligned straight above the aluminum rail the entire way around.
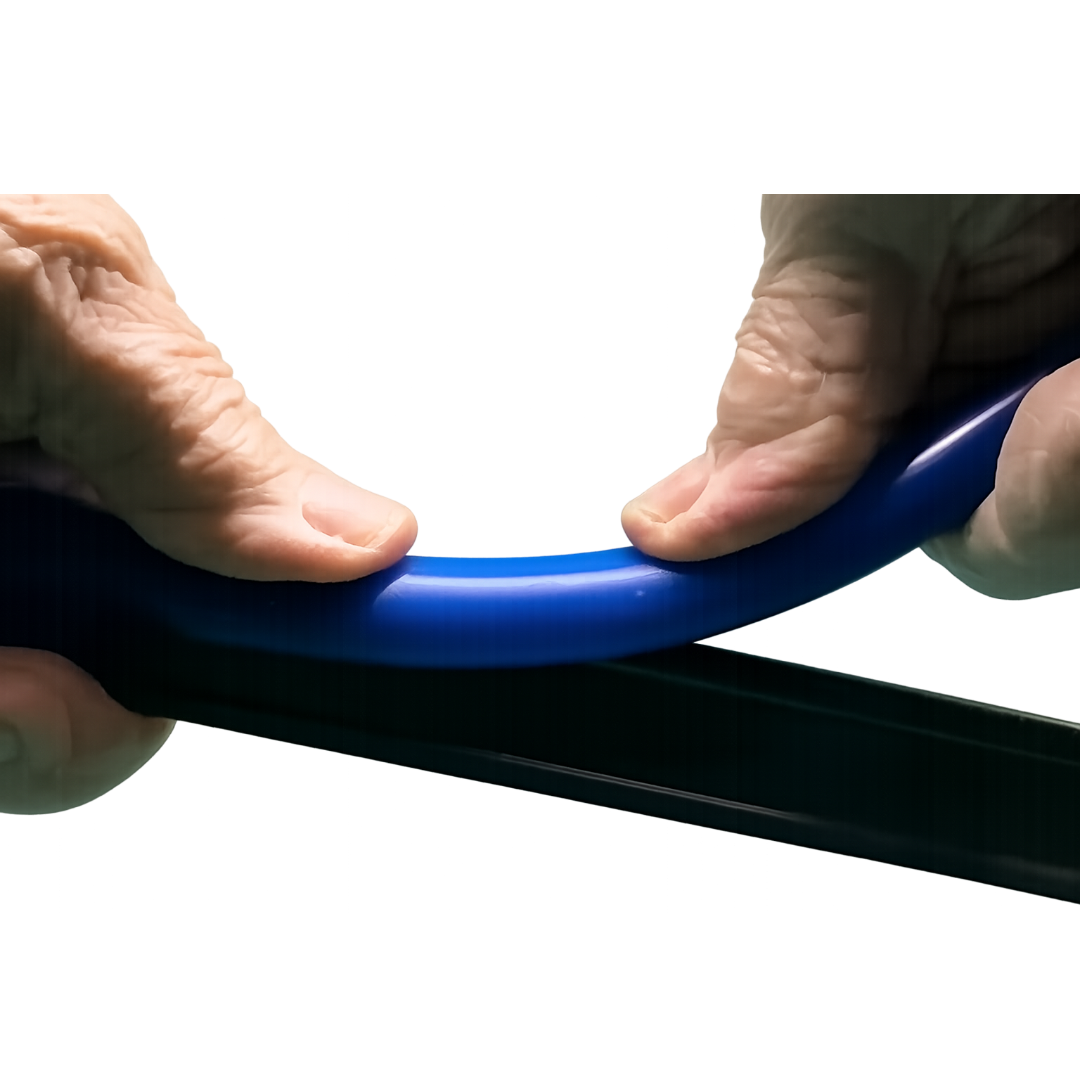
Step 11. After you have applied the first few inches, wrap that end securely with the provided blue electrical tape to hold it firmly in place.
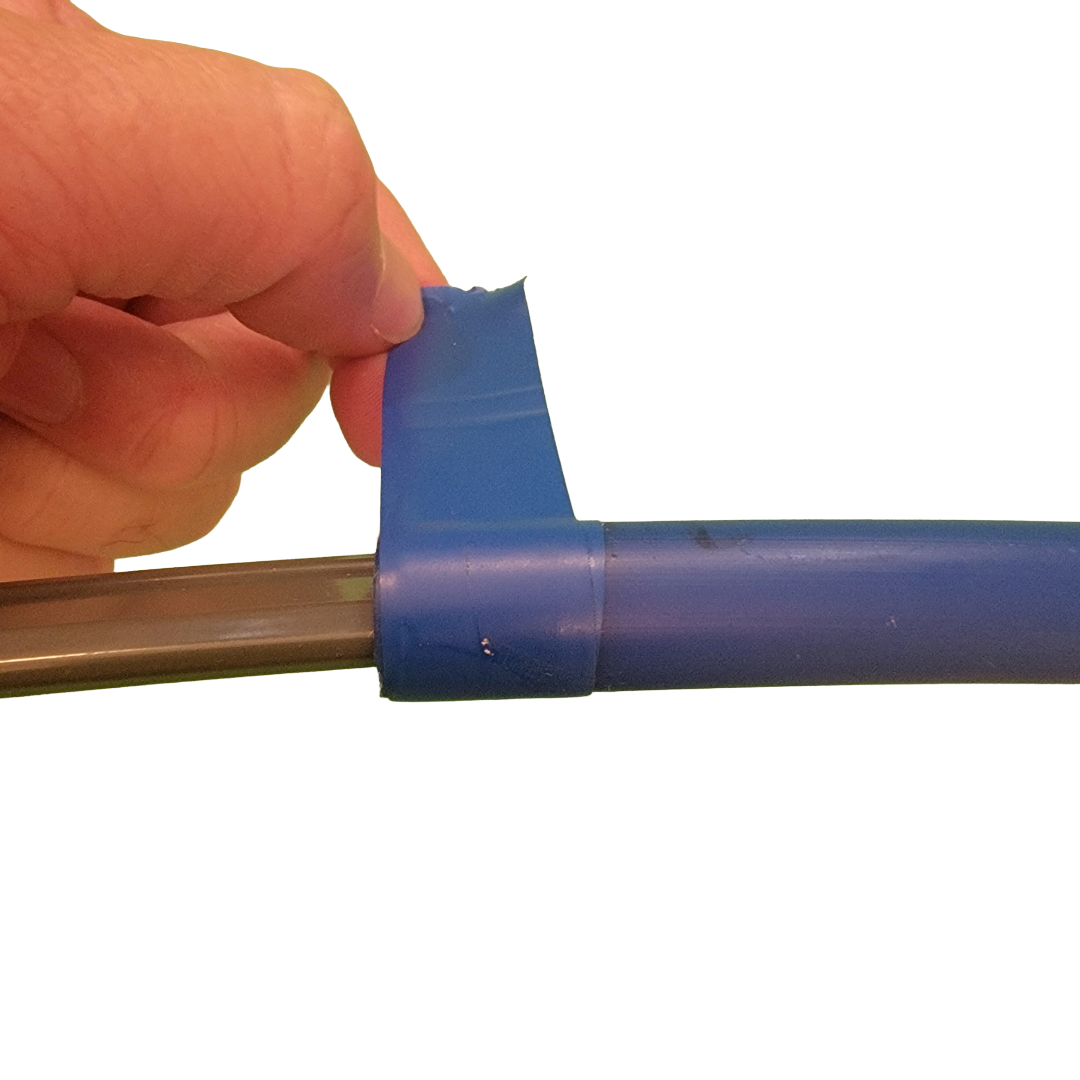
Step 12. Where the two ends meet, wrap the joint with the provided tape.
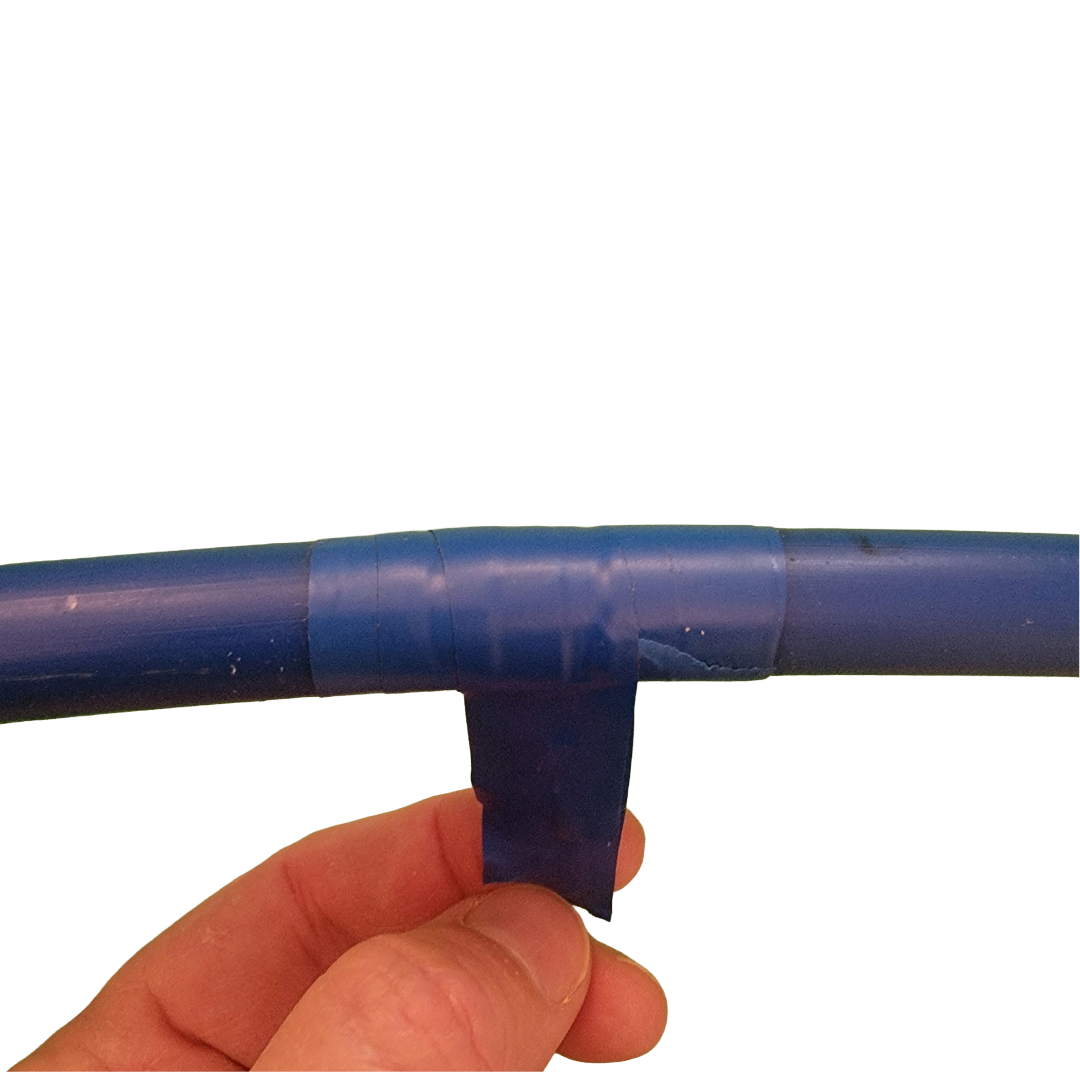
The Poly-Glide Rail is now fully installed.
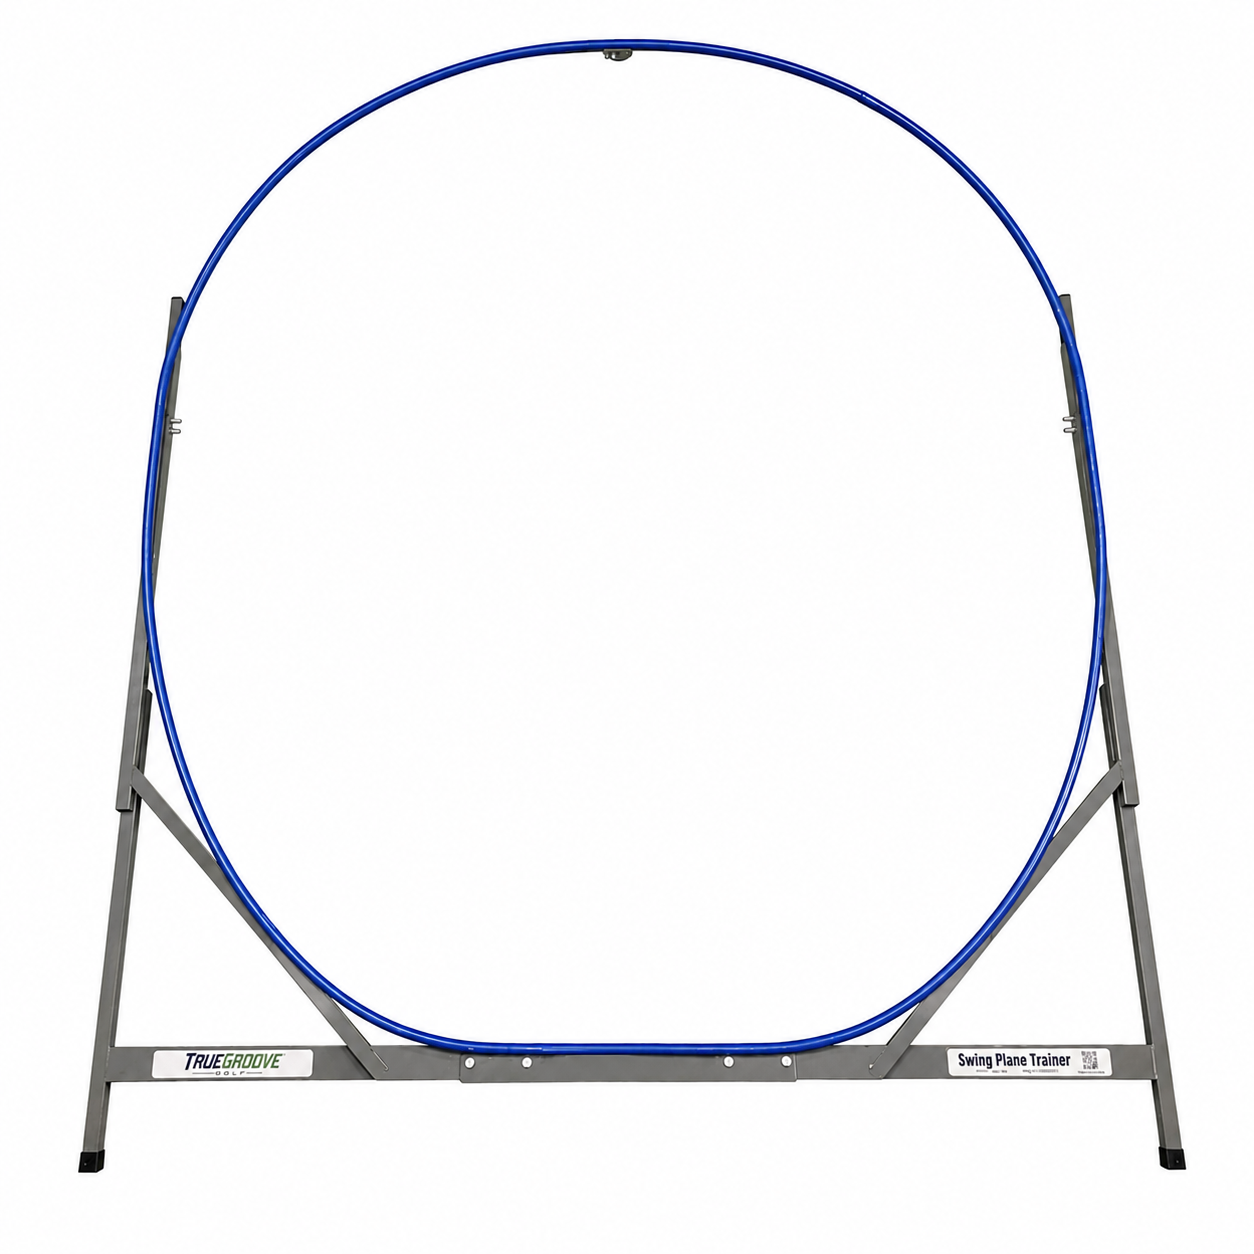
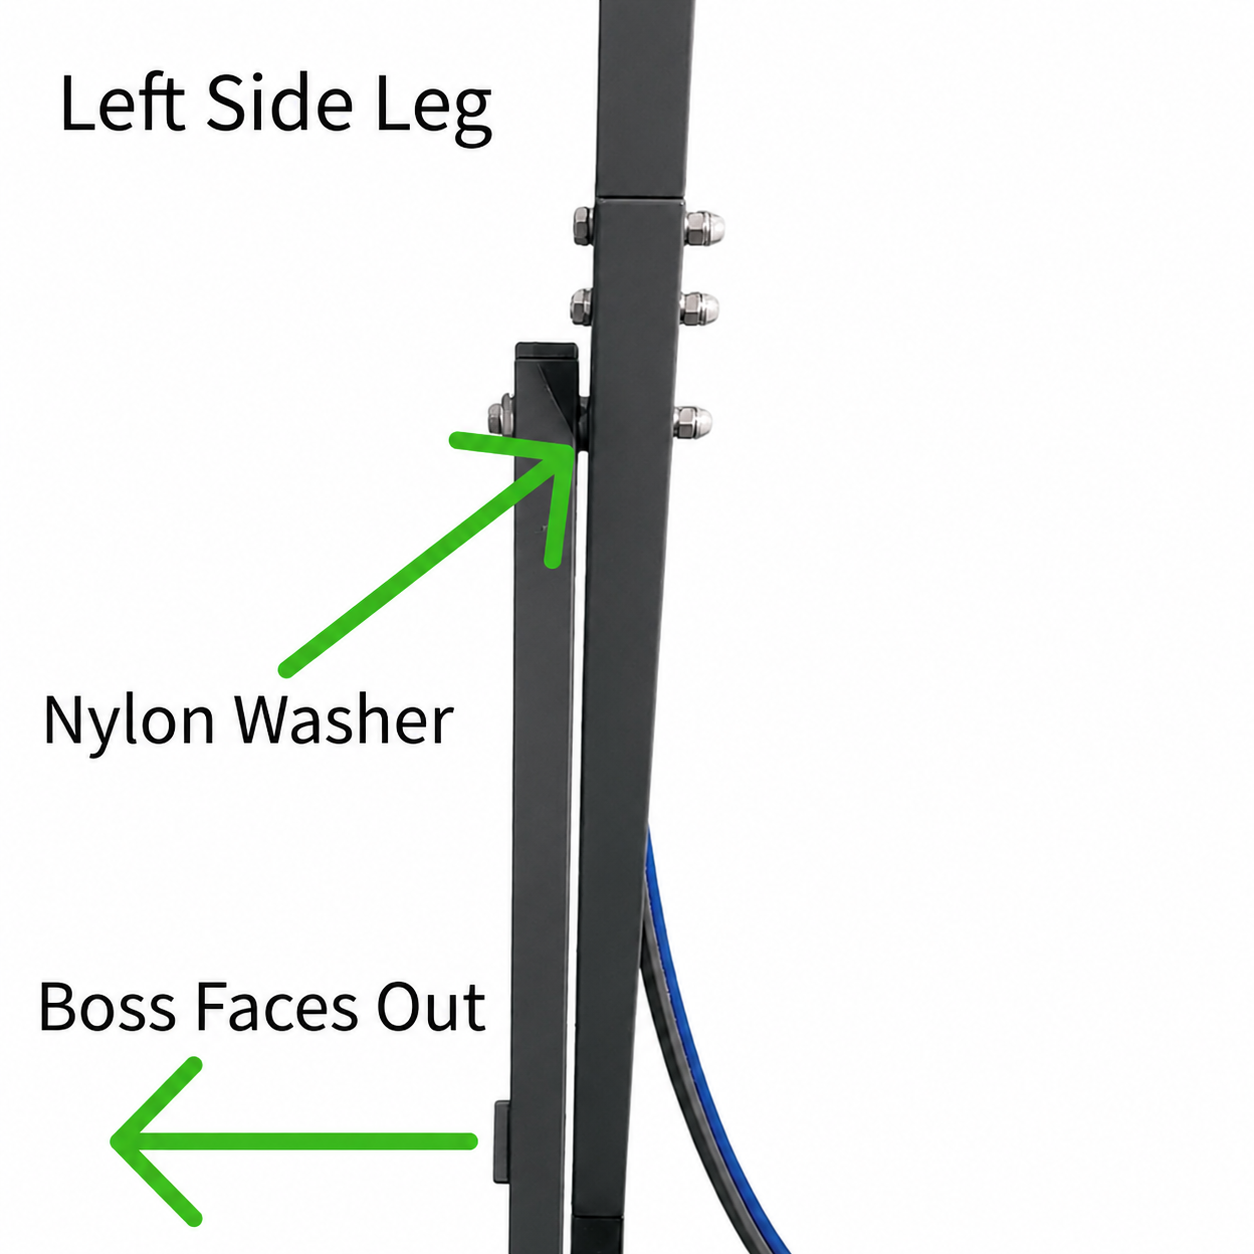
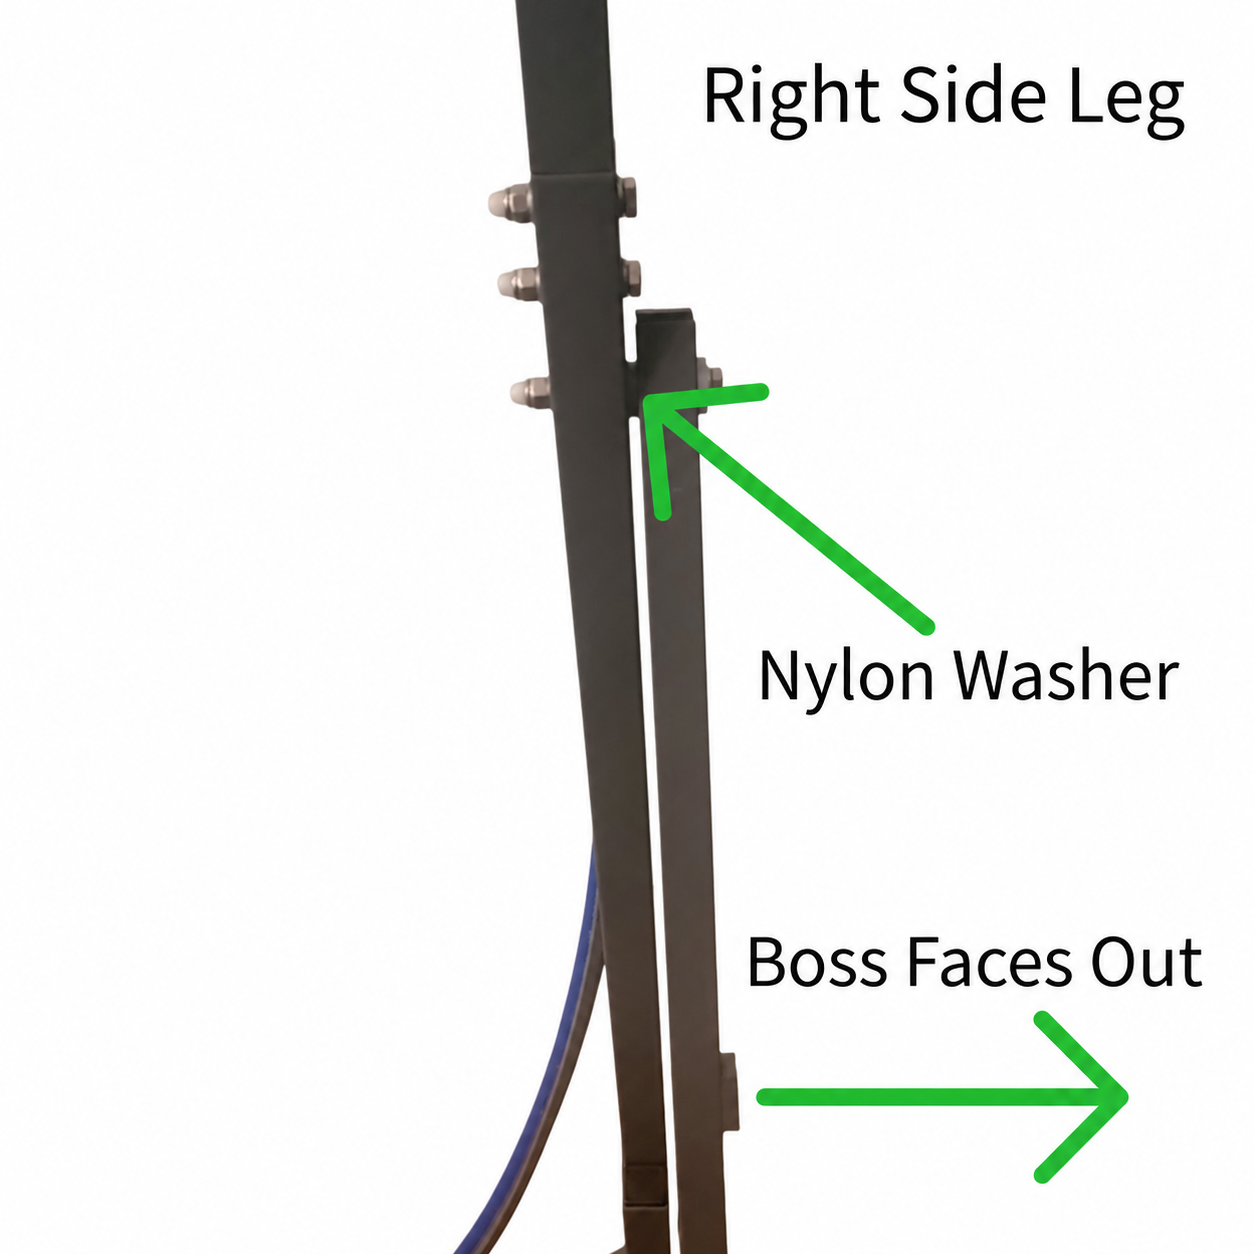
Step 13. Attach Left and Right Legs to their respective sides. Place nylon washers as shown. “Side” is determined from inside (or back side) of the trainer.
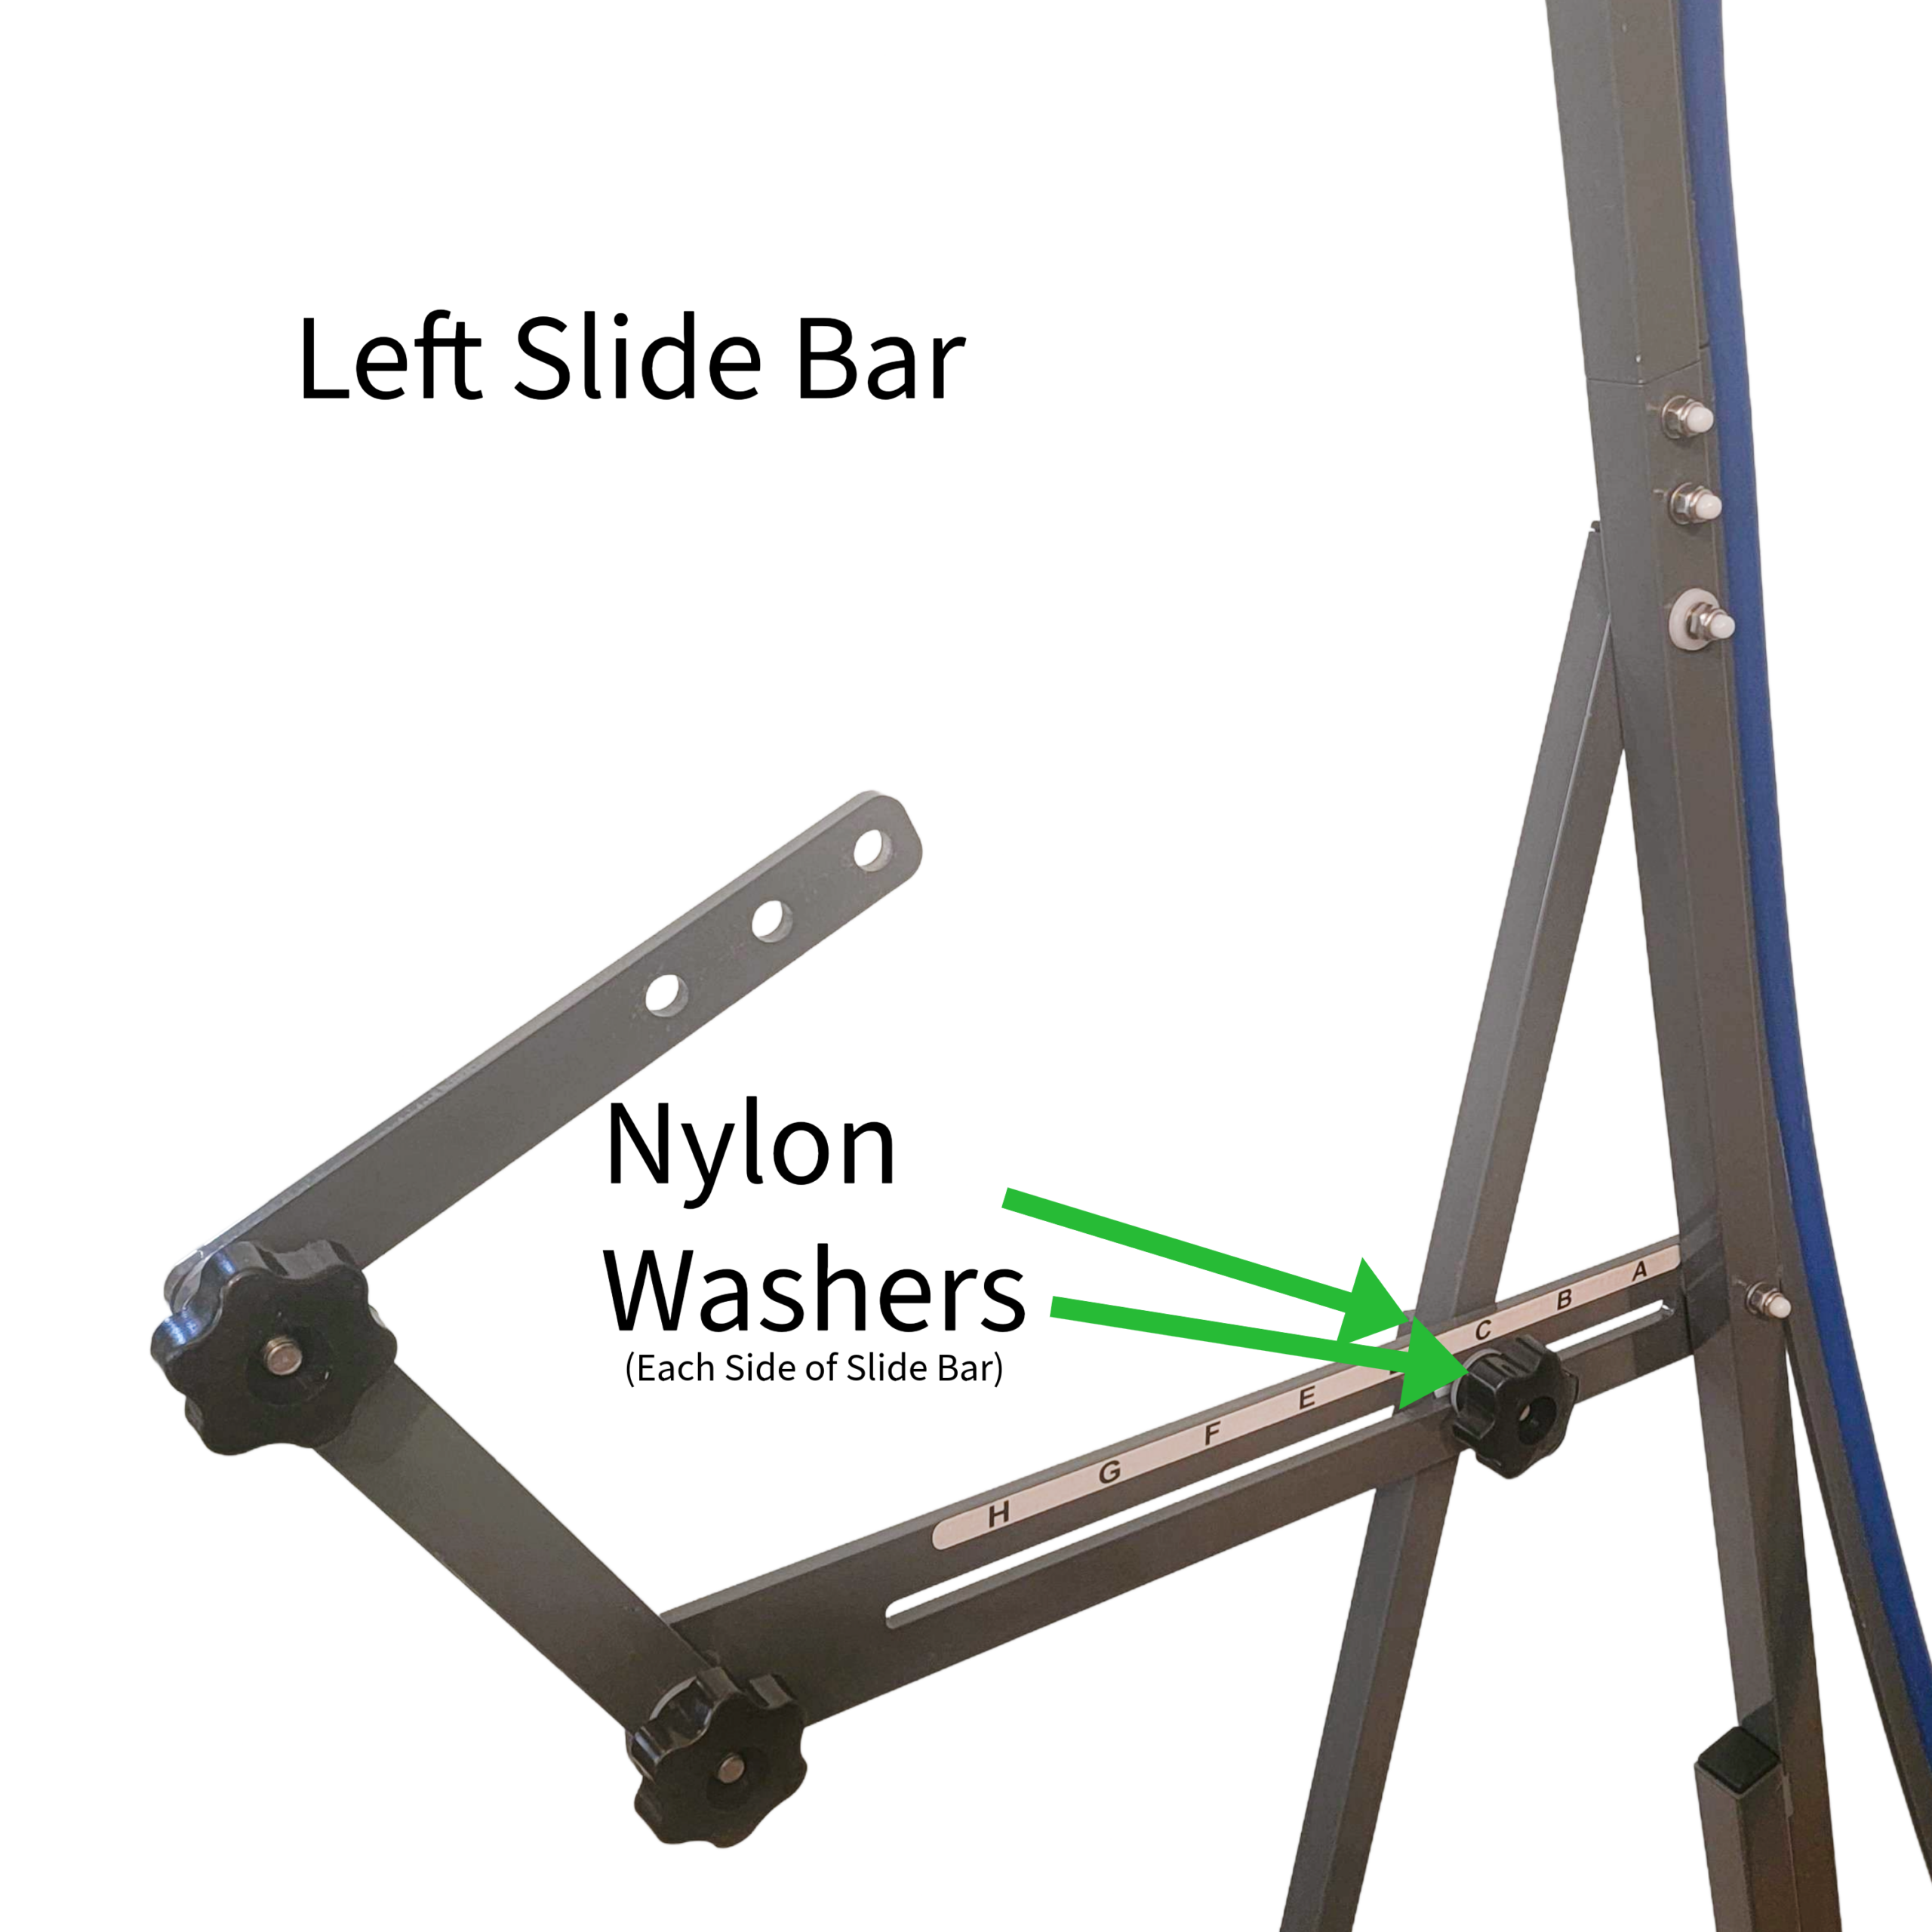
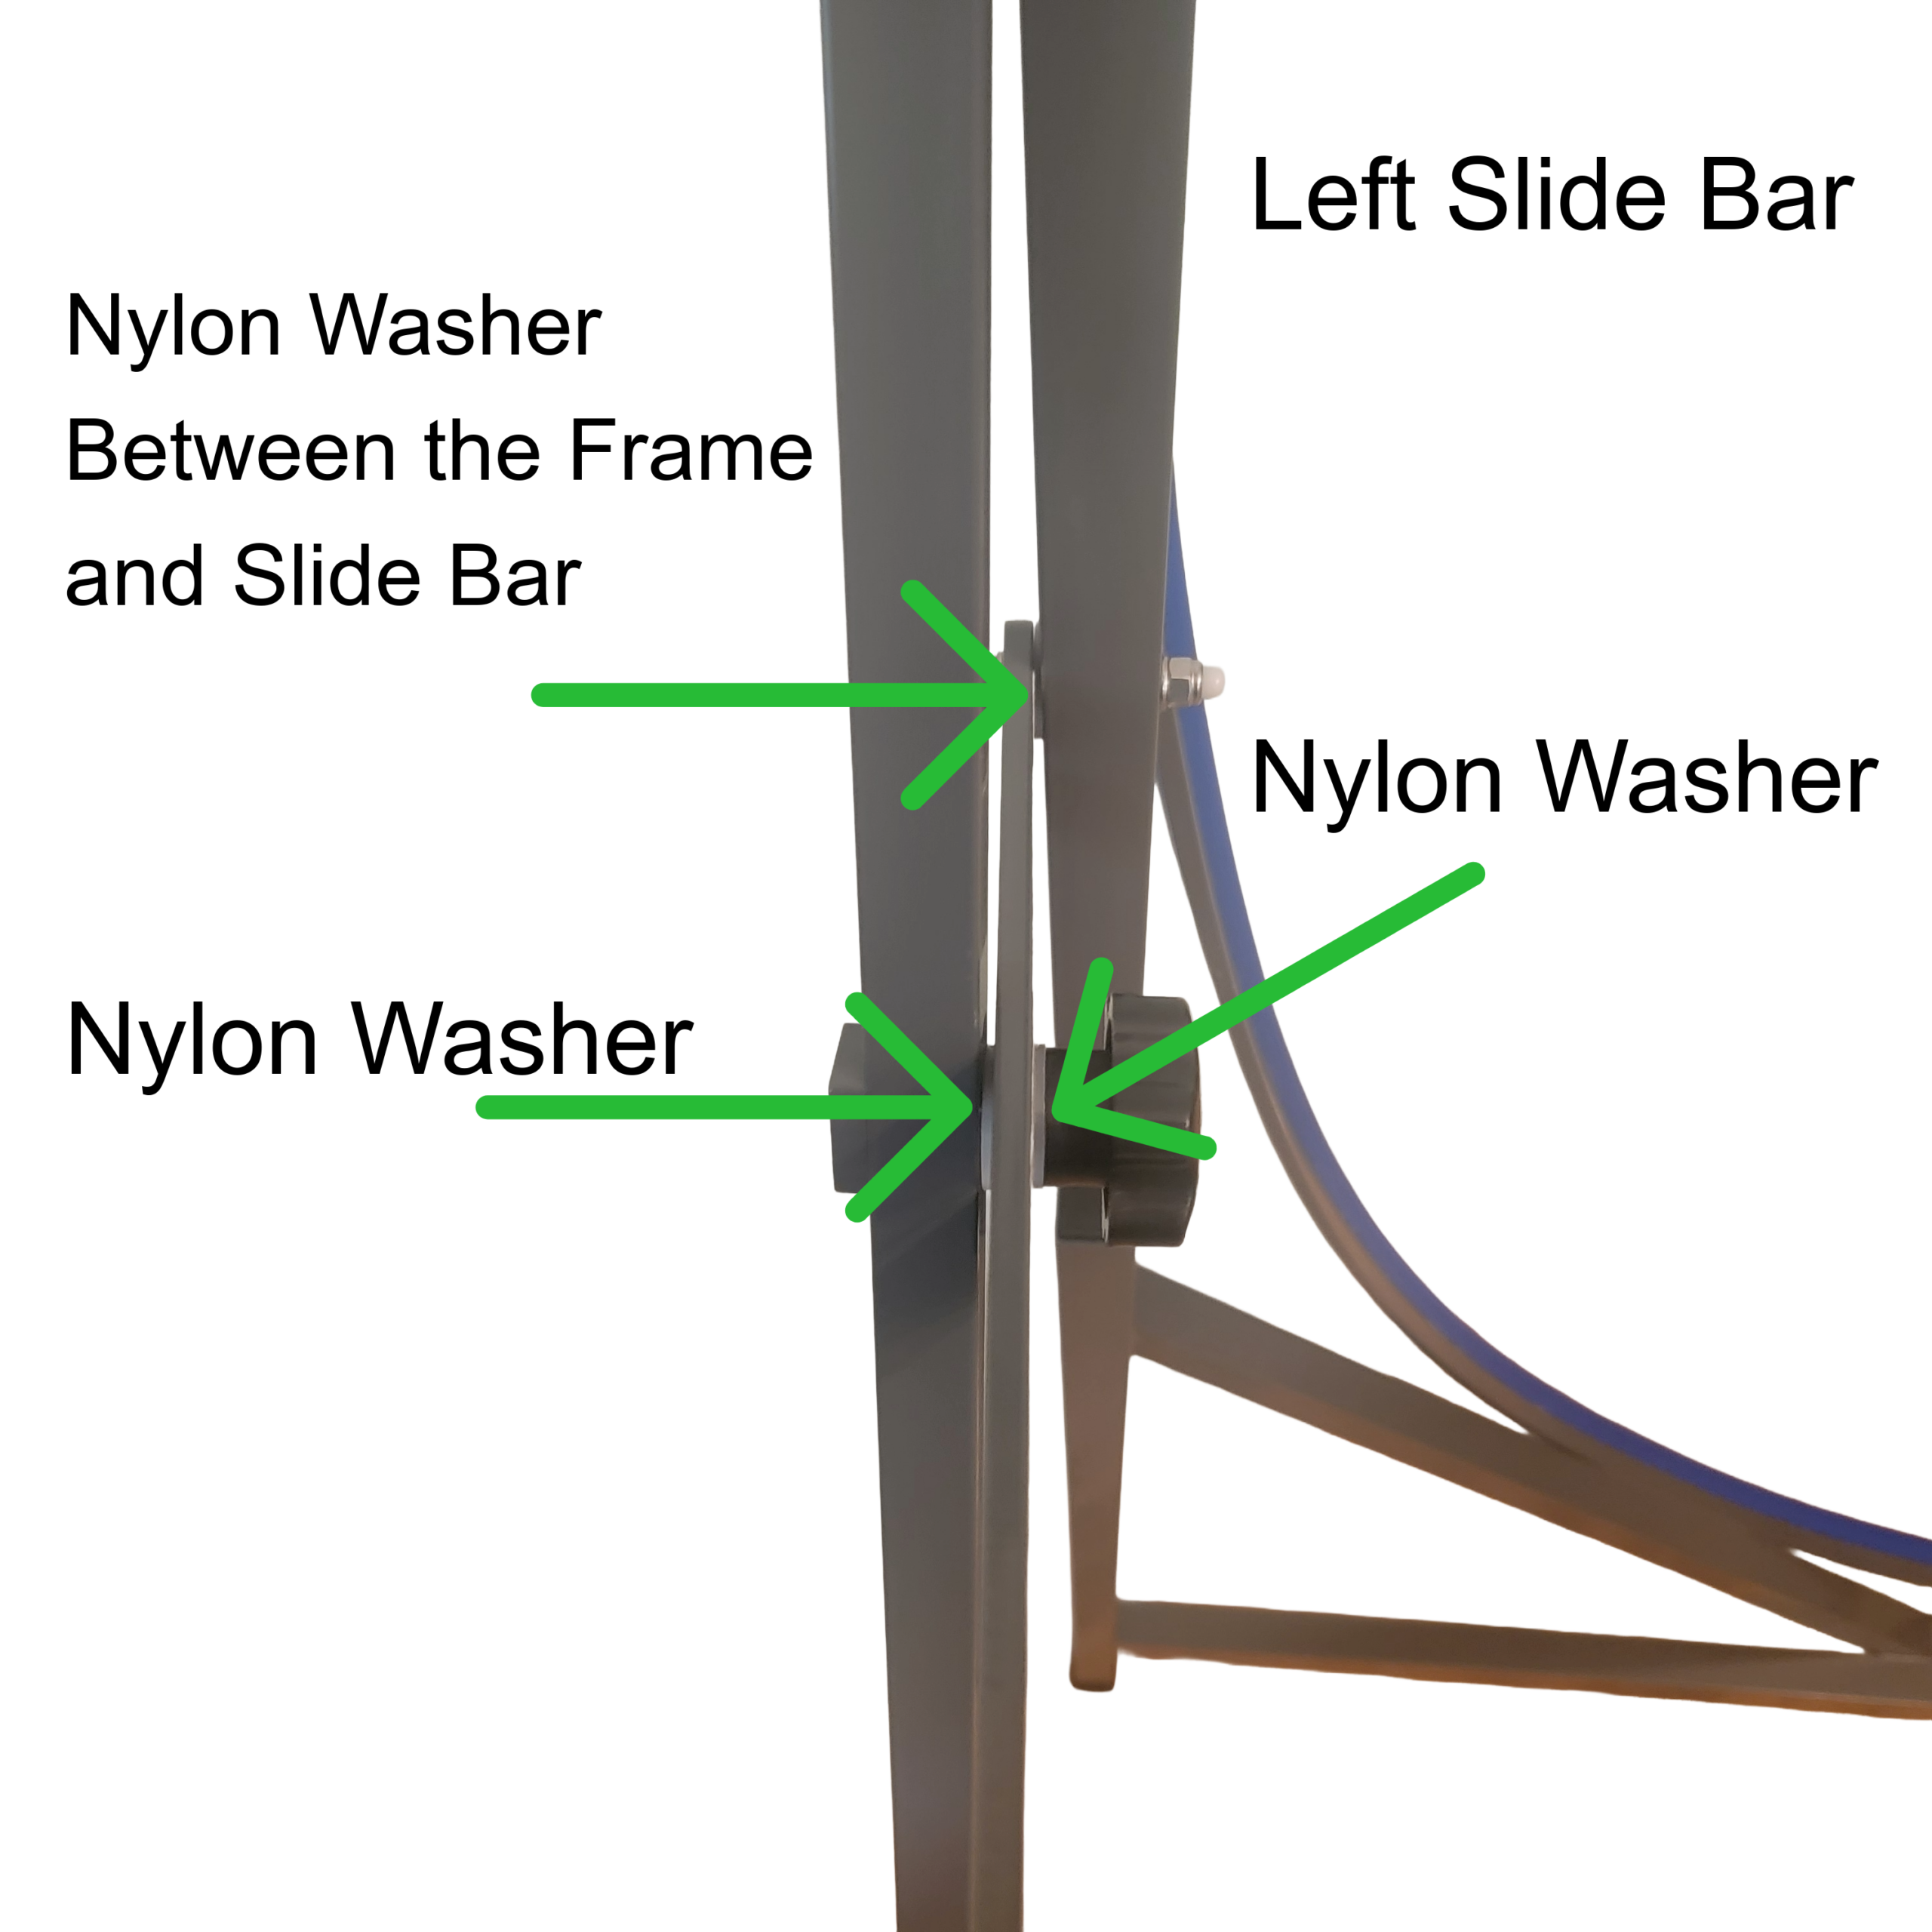
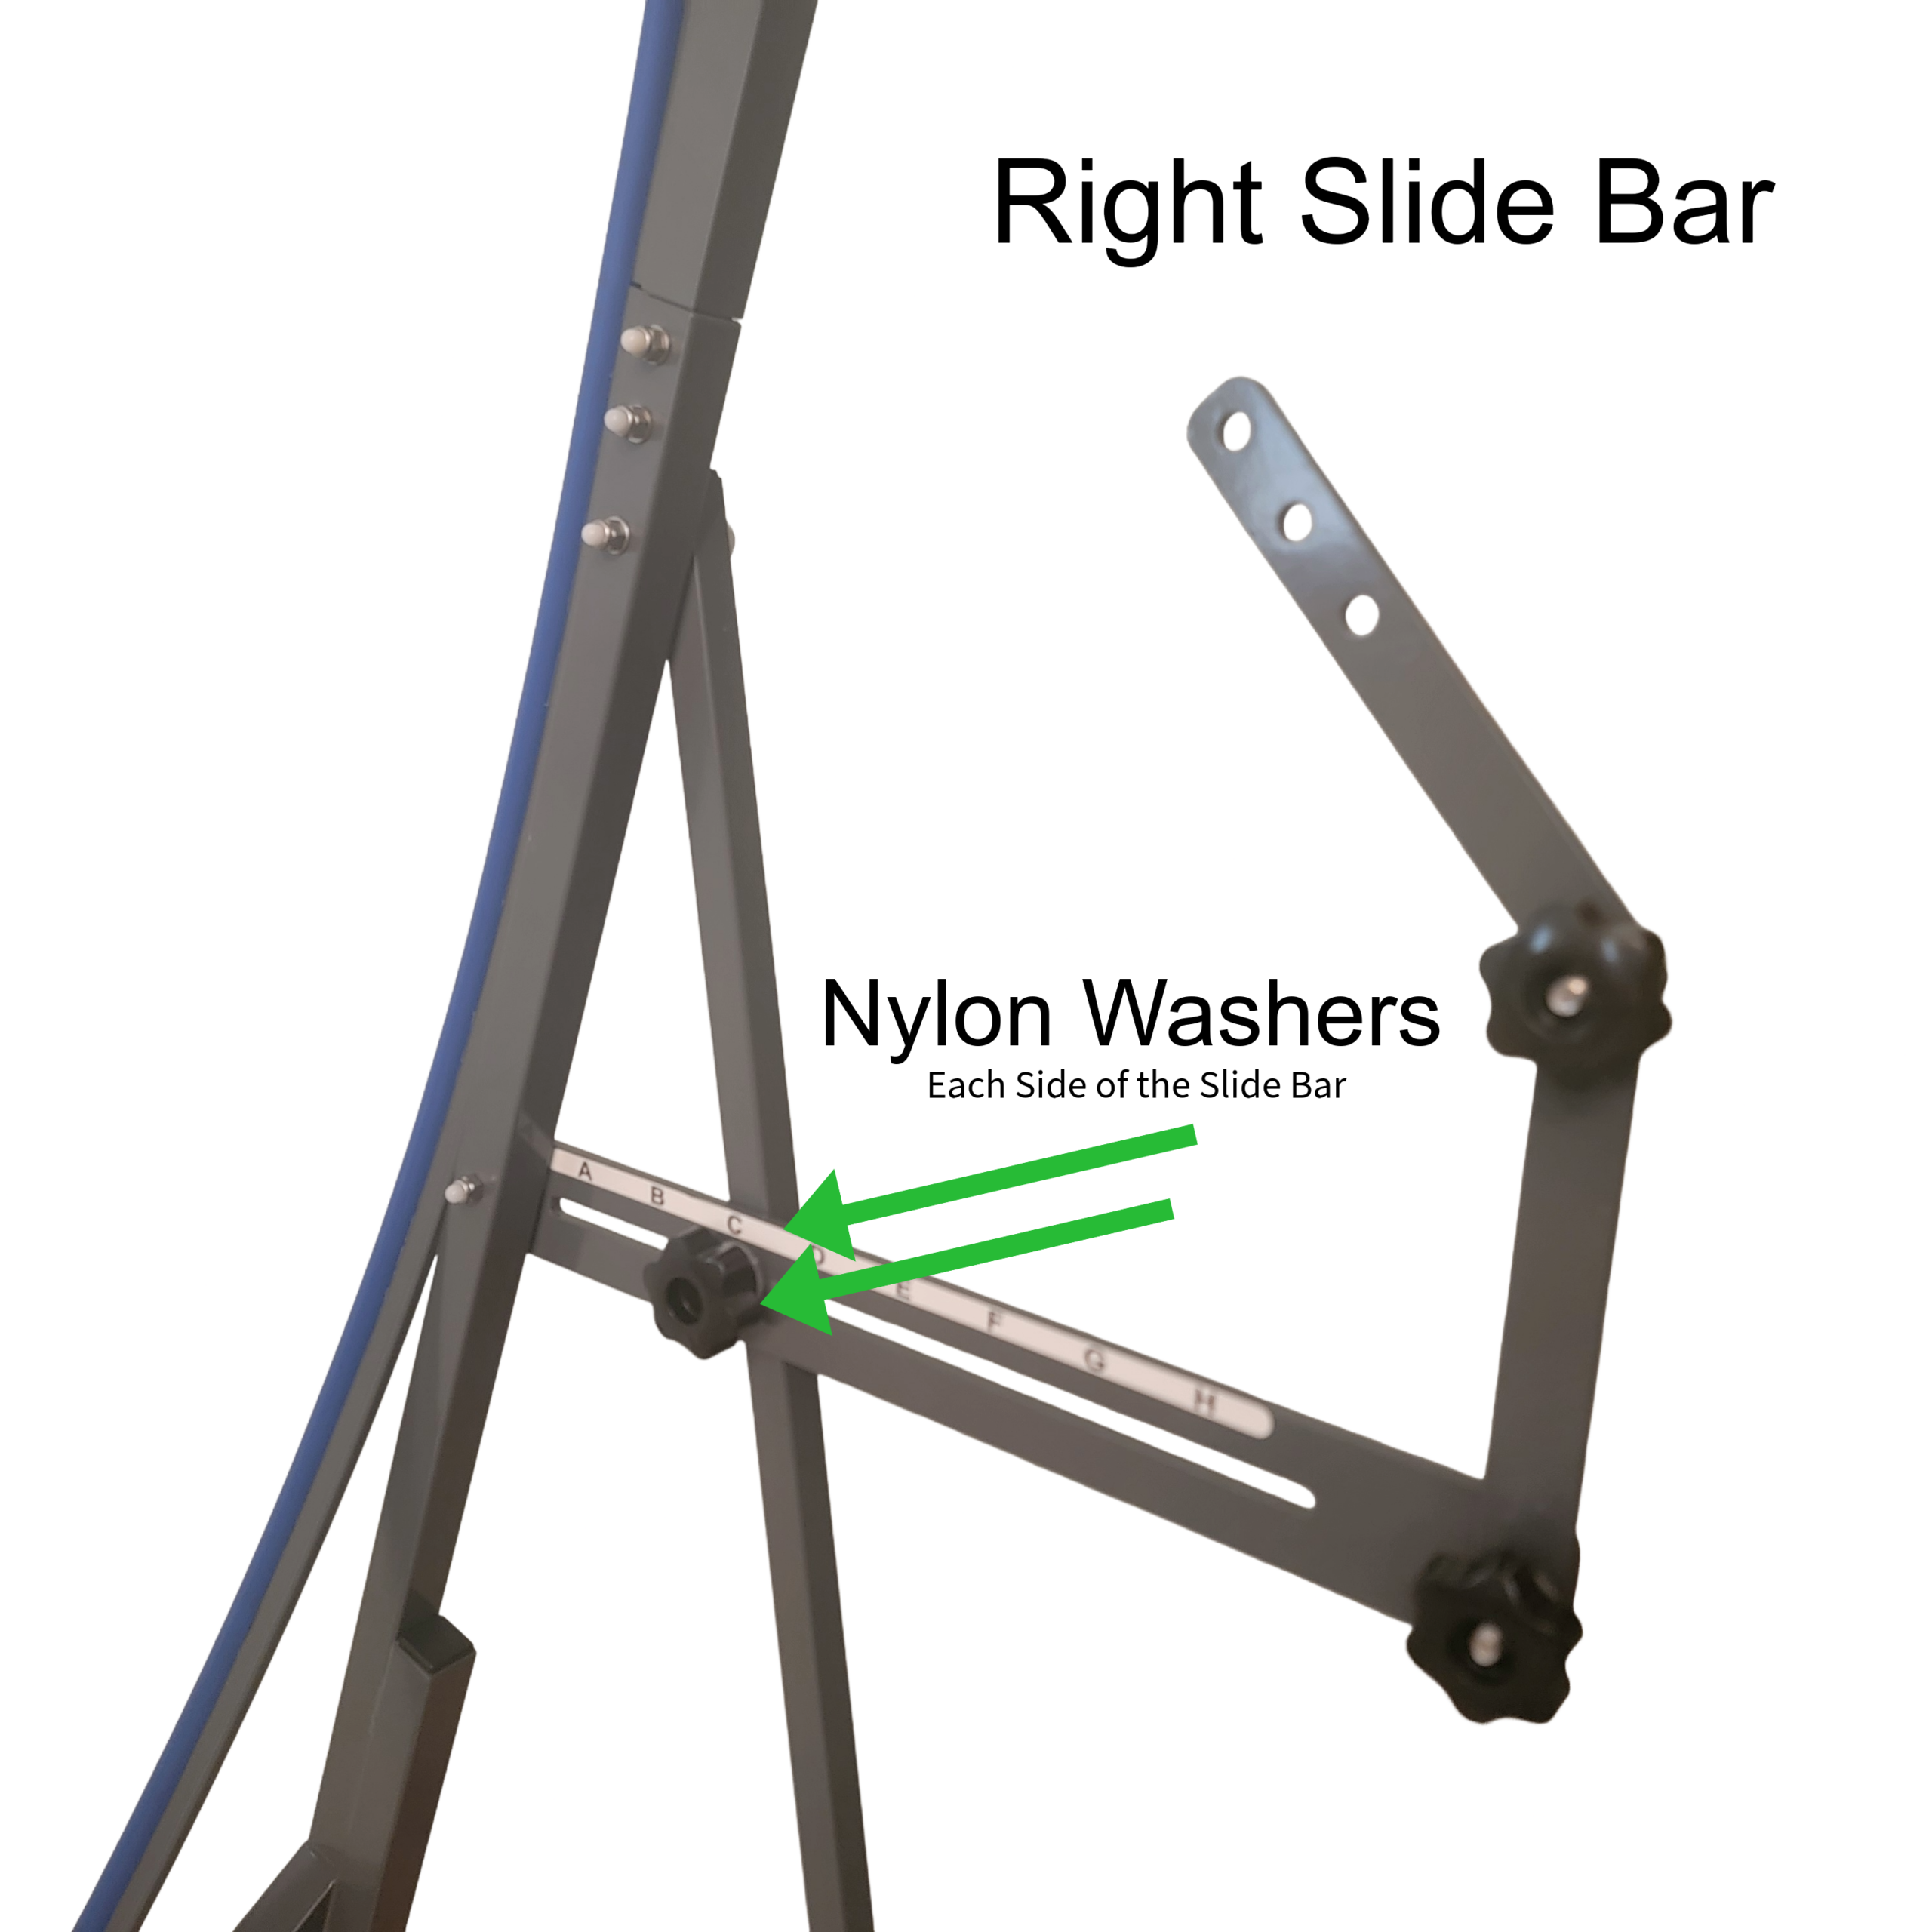
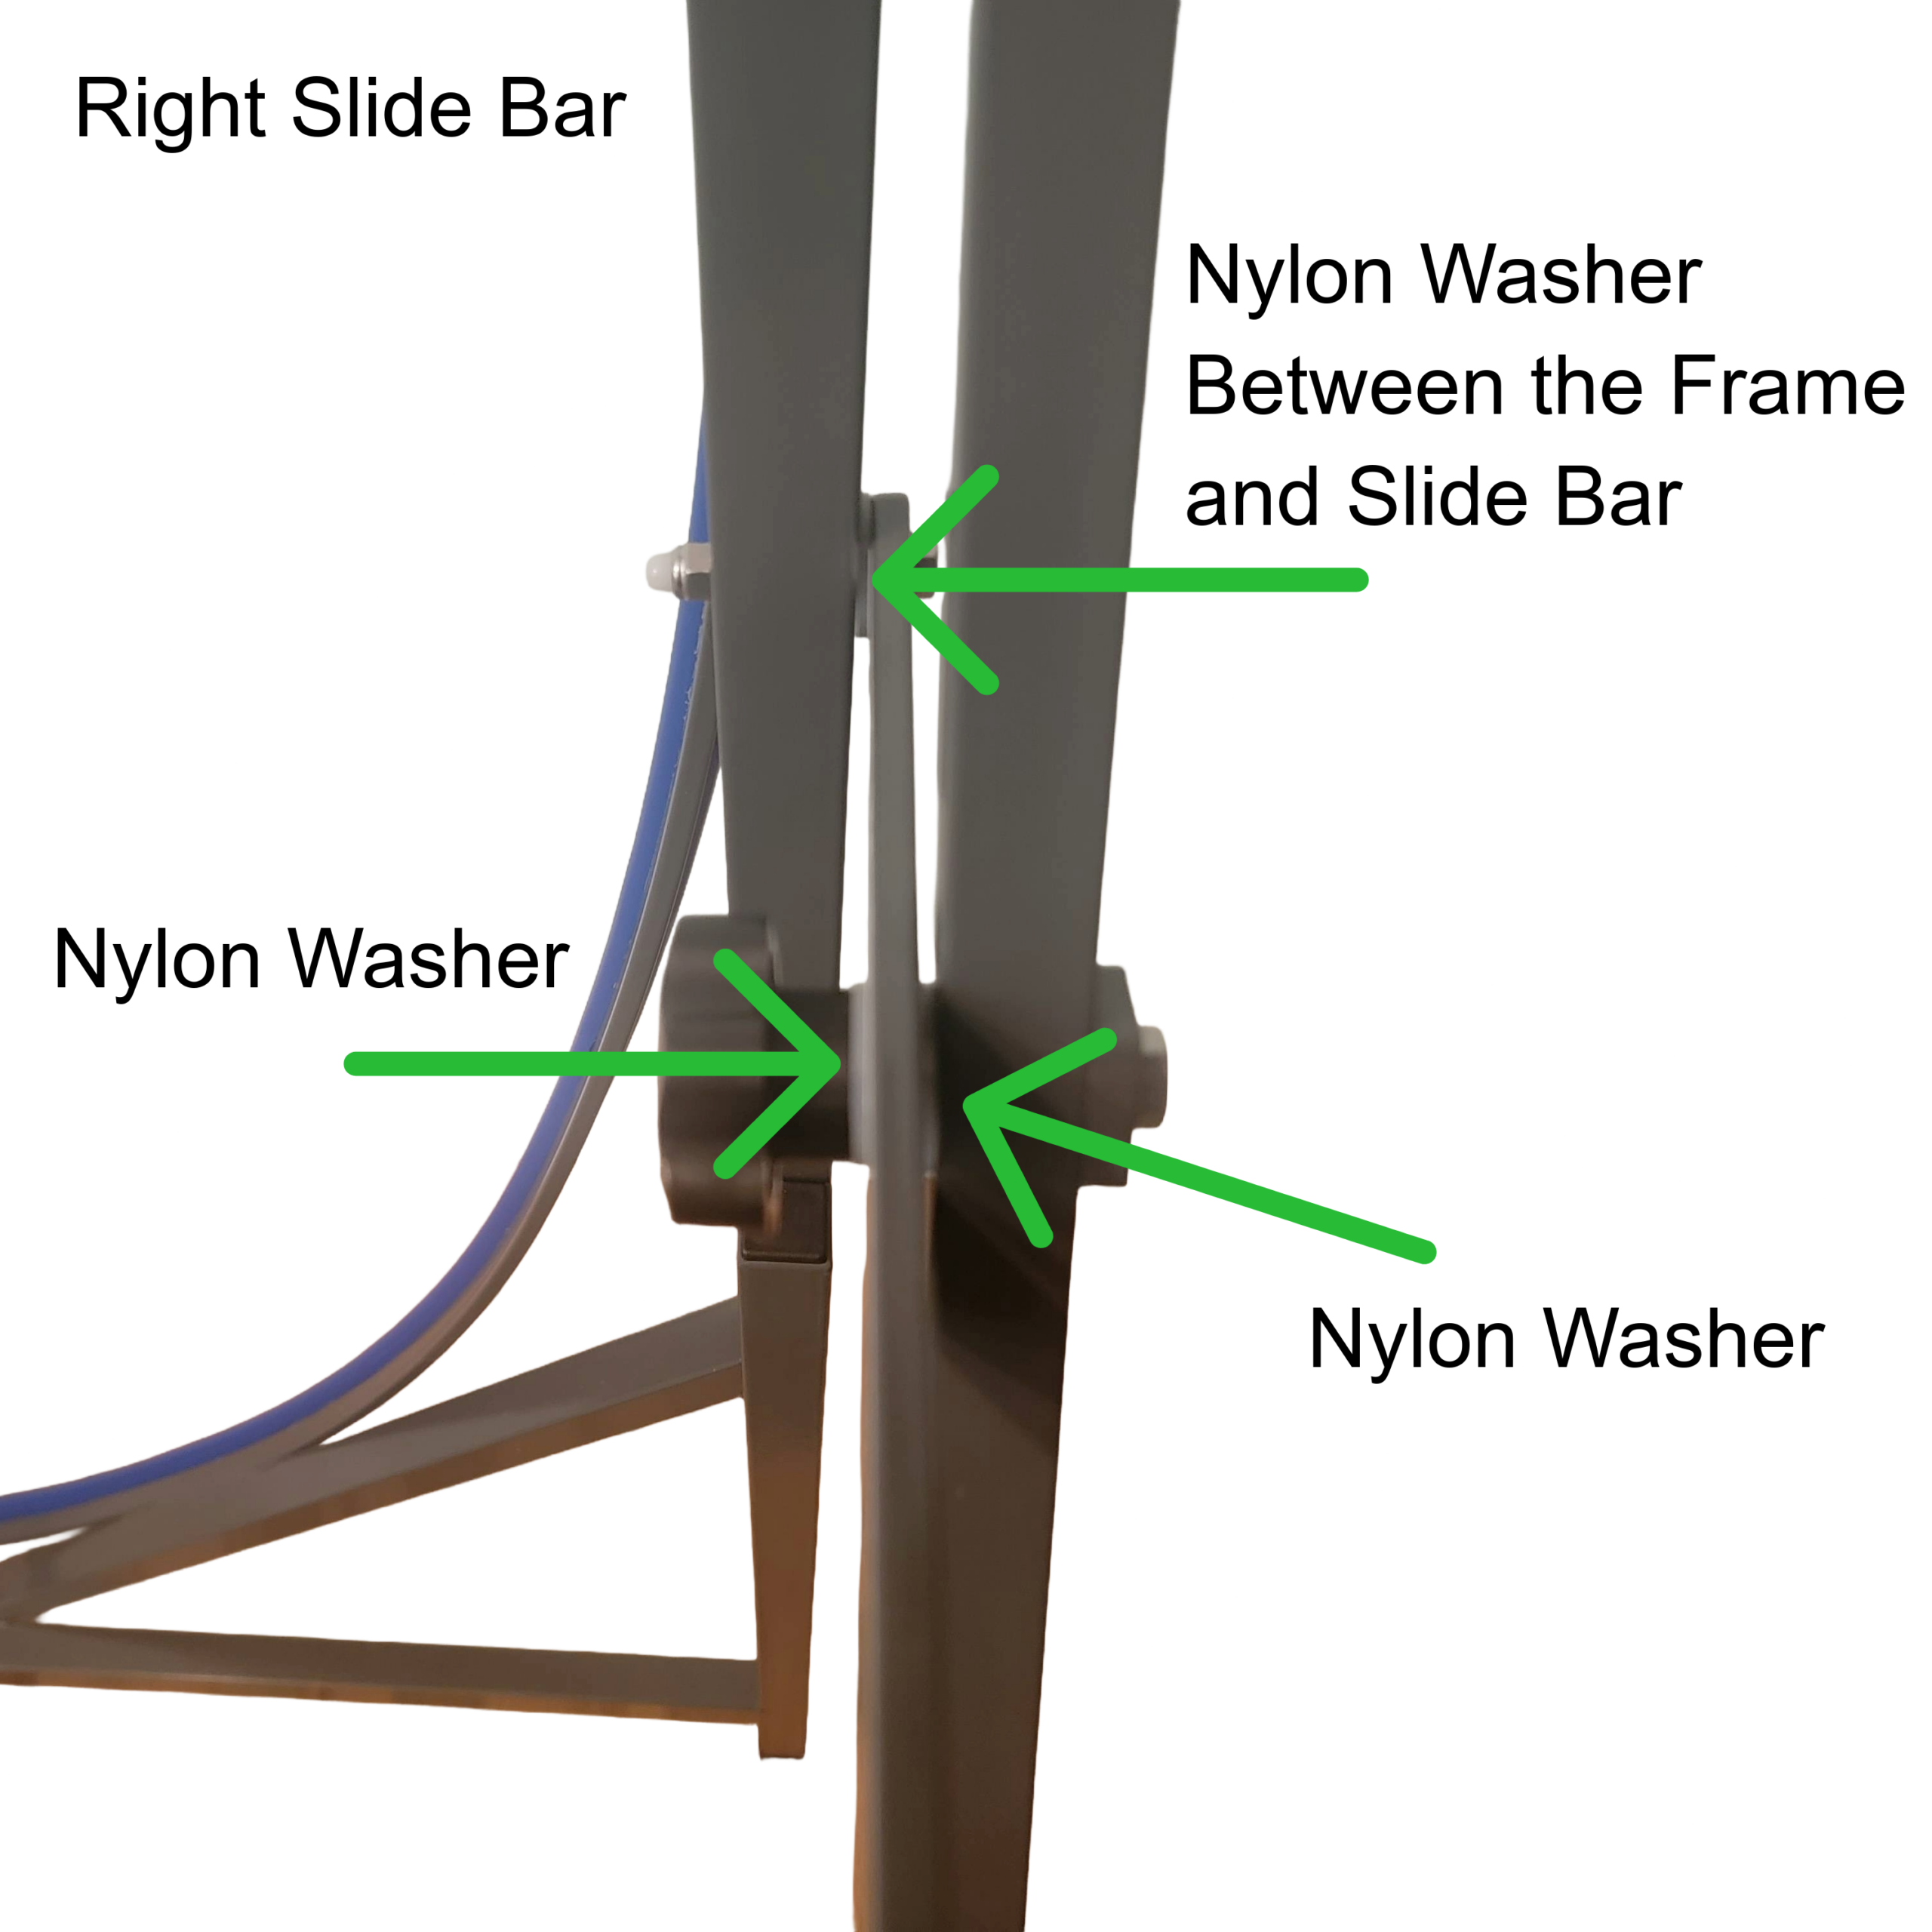
Step 14. Attach the Left Slide Bar to the Left Main Upright. Then attach the adjustment knob through the Slide Bar. Be sure to place washers on both sides of the Slide Bar as shown.
Step 15. Repeat the same process to attach the Right Slide Bar to the Right Main Upright.
Set up the Power Bar
Step 16. Thread the bungee cord through the Left and Right Support Arms starting at the top.
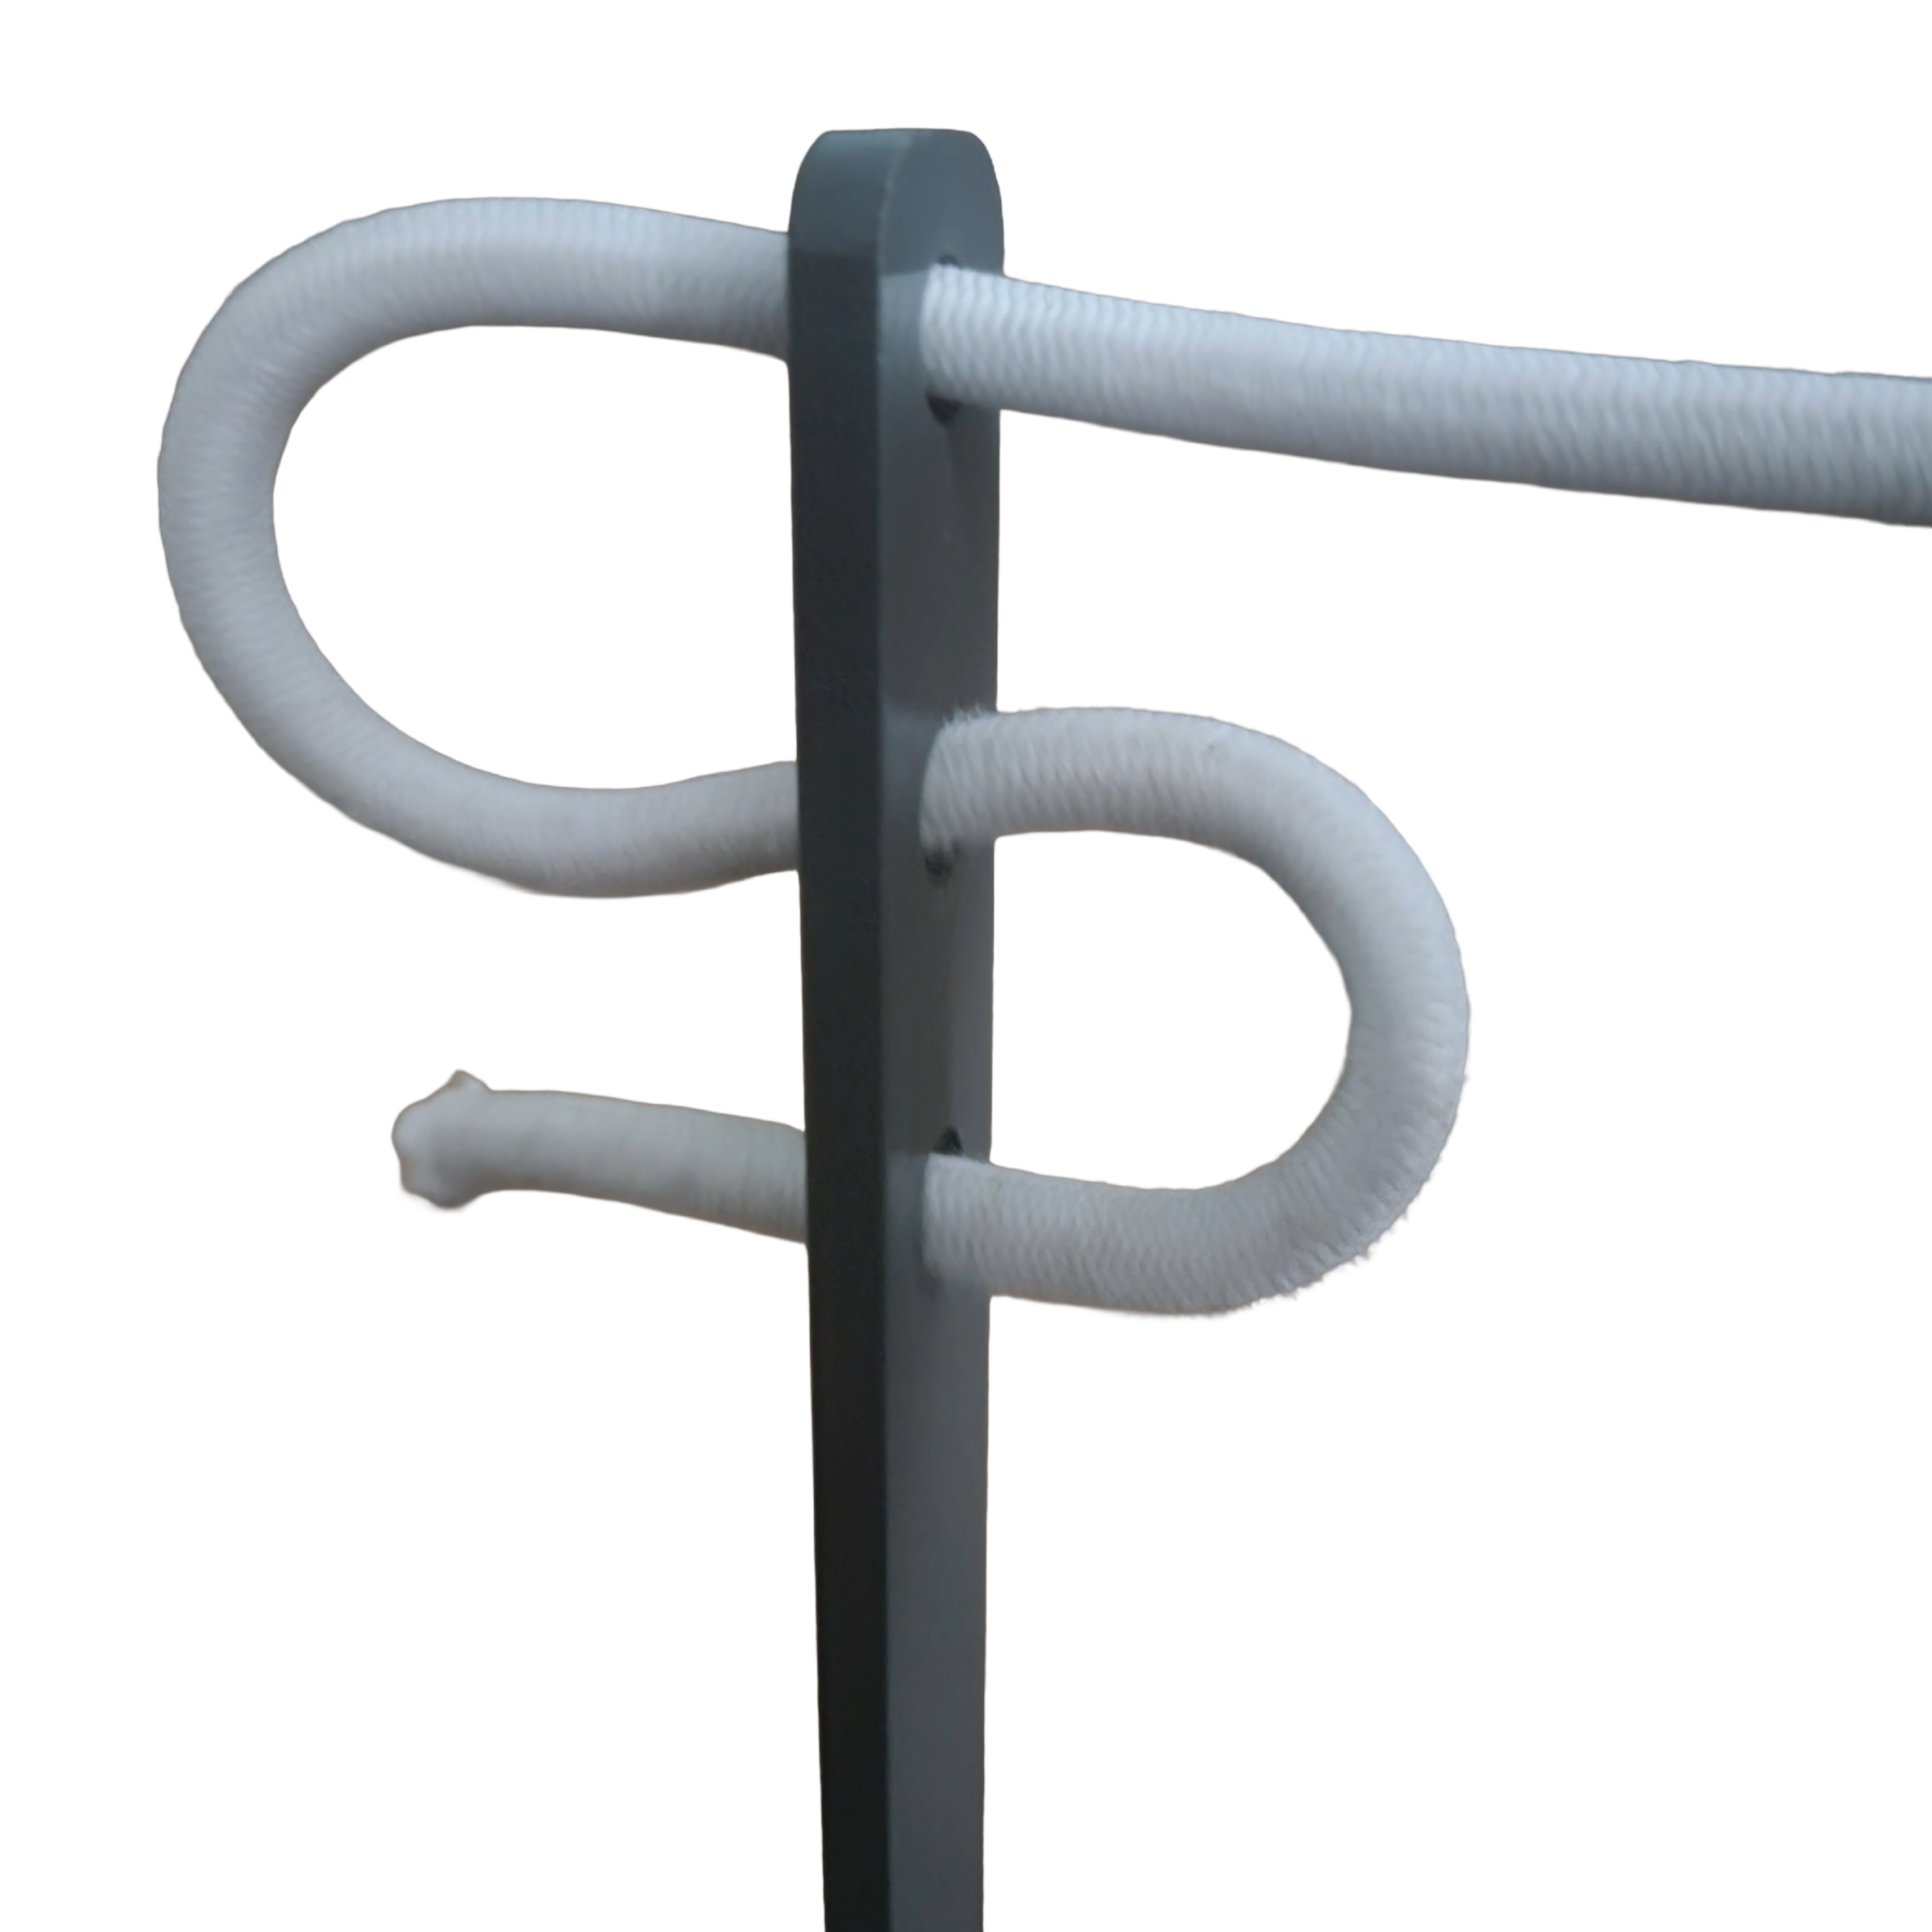
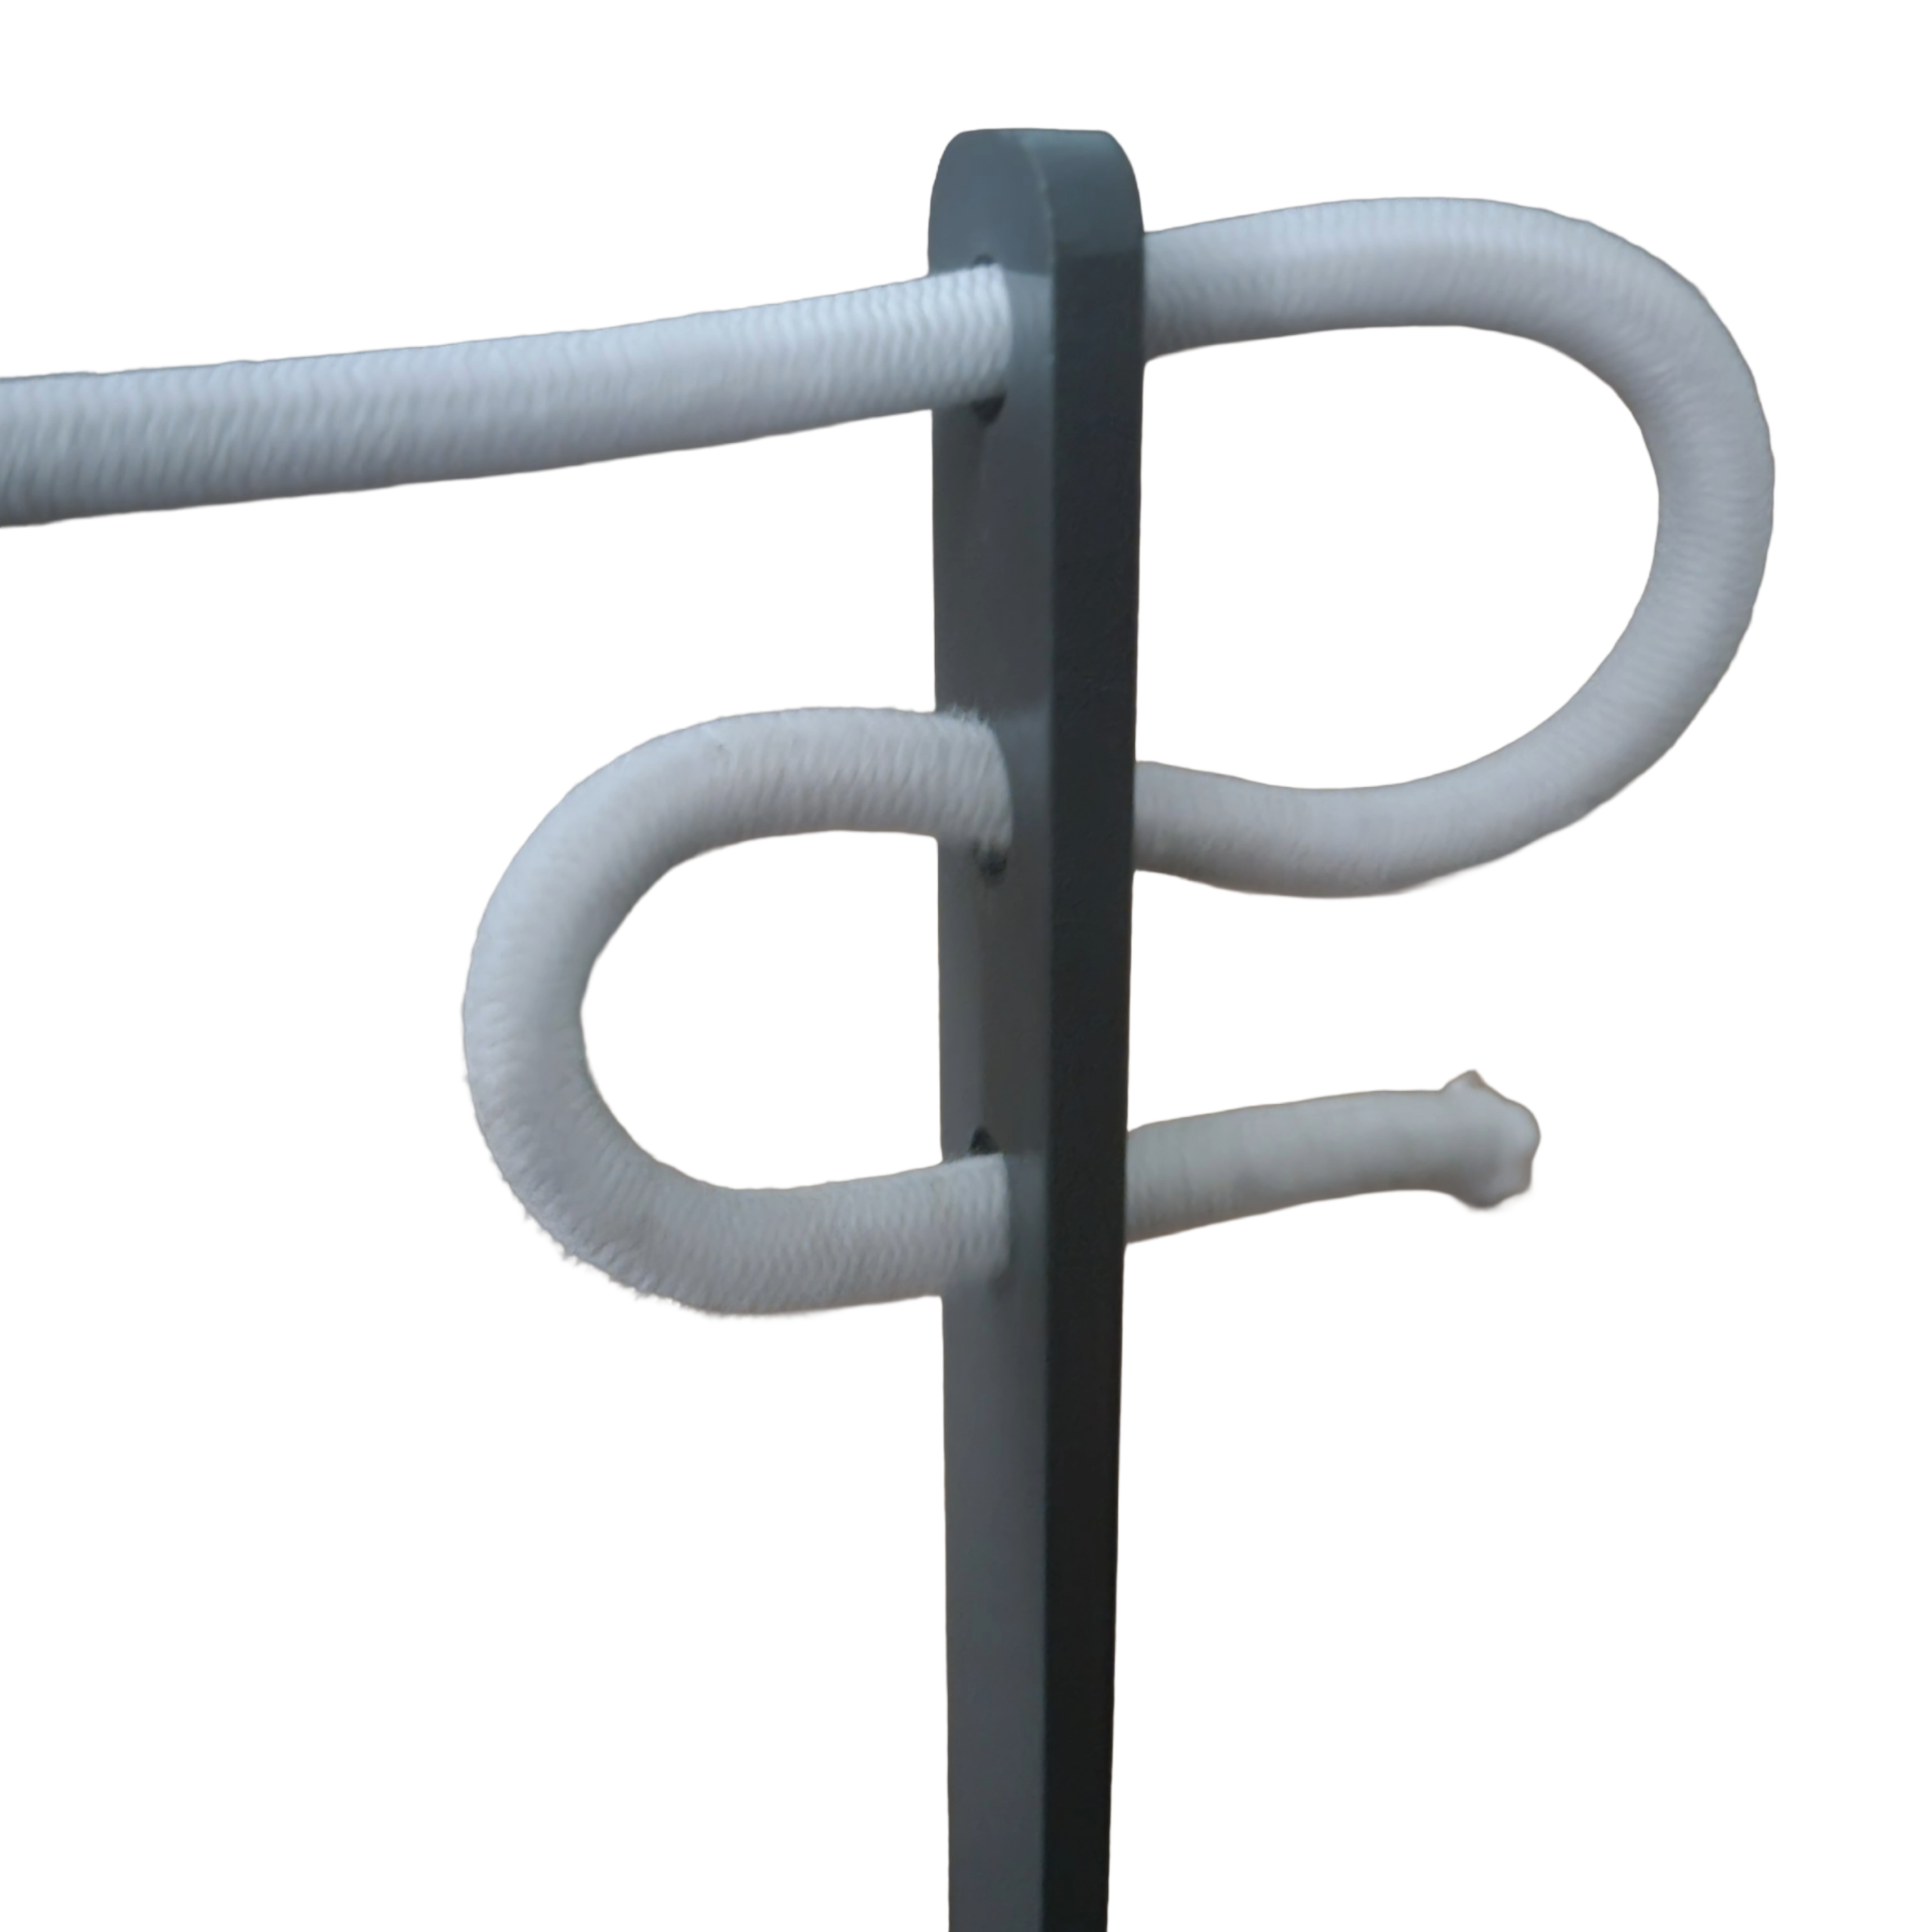
Step 17. Use the three holes in the adjustment bars to adjust the tension in the bungee cord so that the Power Bar is in firm contact with the glutes during the drills.
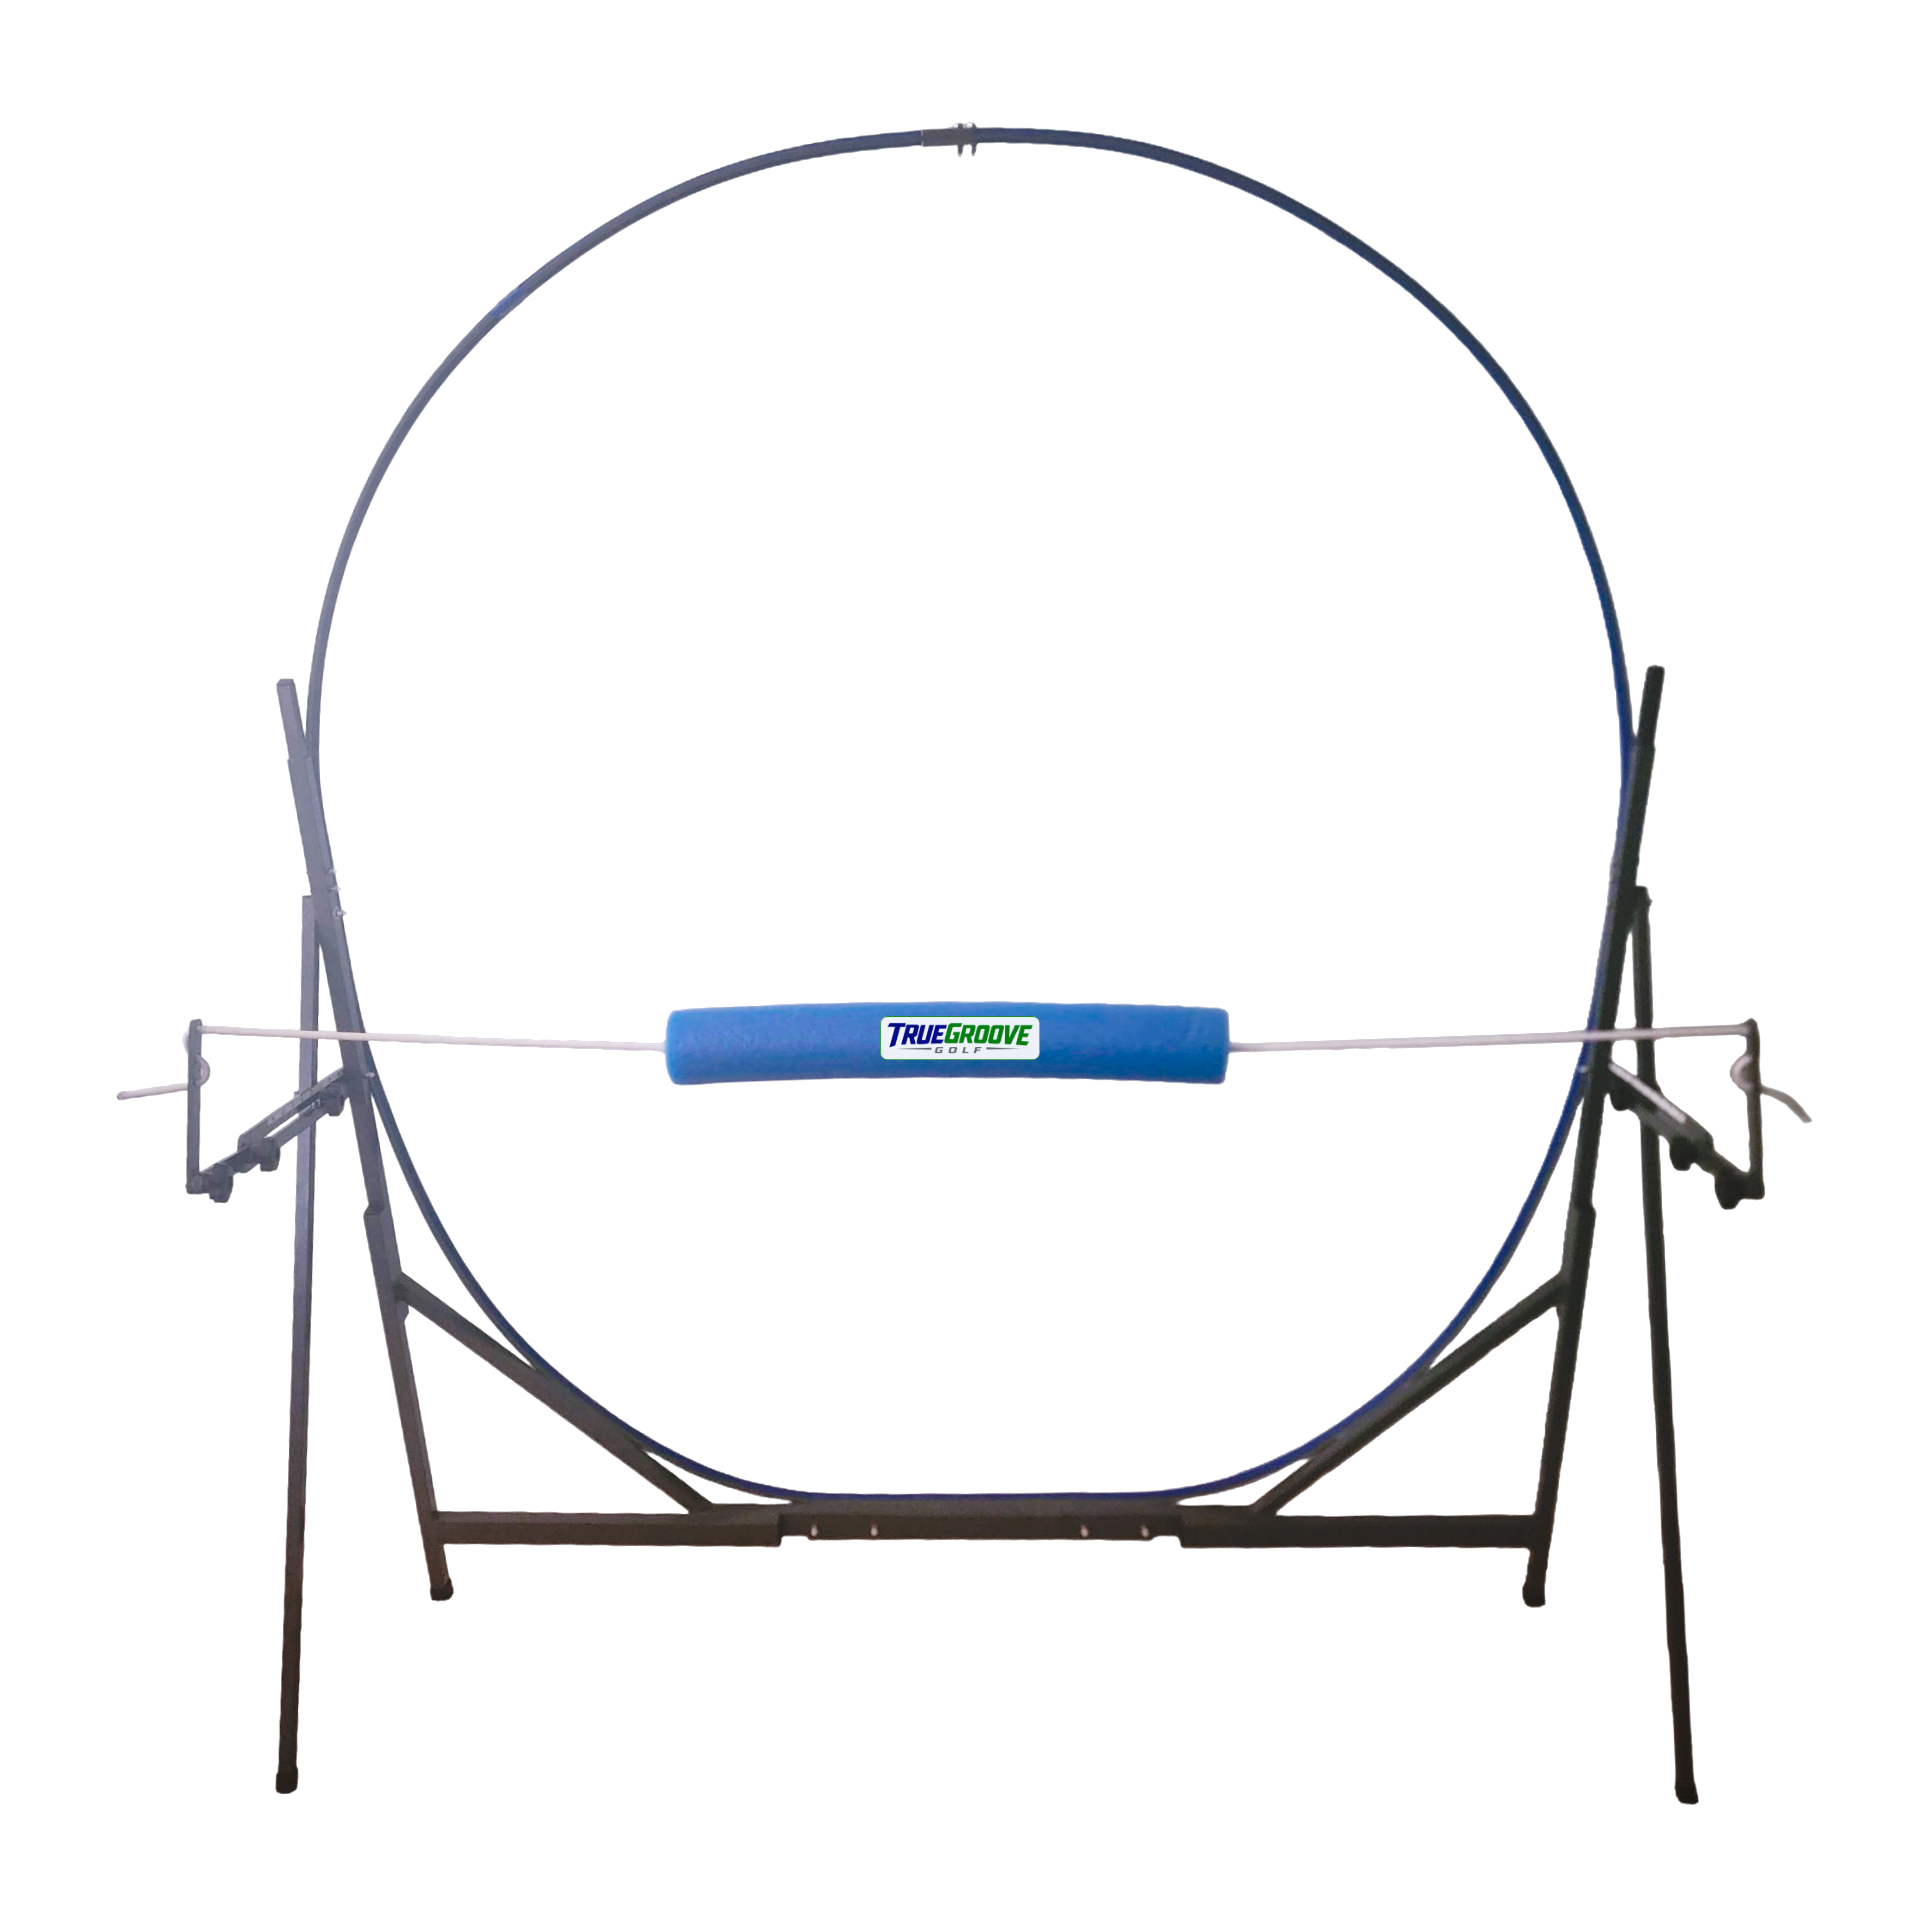
Thanks for choosing TrueGroove!
Please do not hesitate to contact us if we can be of assistance.
